The Draft Orders feature on ShopBase allows users to create an order and share the checkout link with customers. It's especially beneficial for B2B sellers, whose sales agents typically handle the sales process with customers and then send them the link to complete the checkout and payment. Draft orders are valuable when you need to perform the following tasks:
This guide will walk you through the process of creating and managing draft orders in your ShopBase admin.
In this article
A. Access and create a draft order
B. Share a checkout link with customer
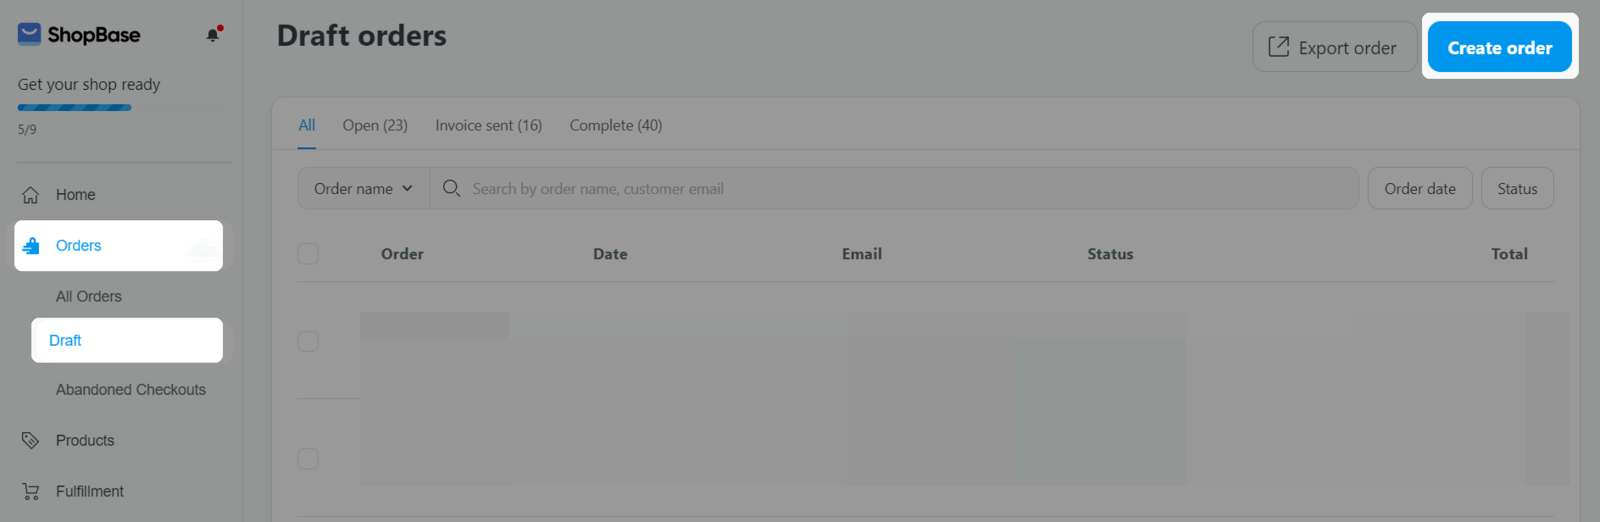
A. Access and create a draft order
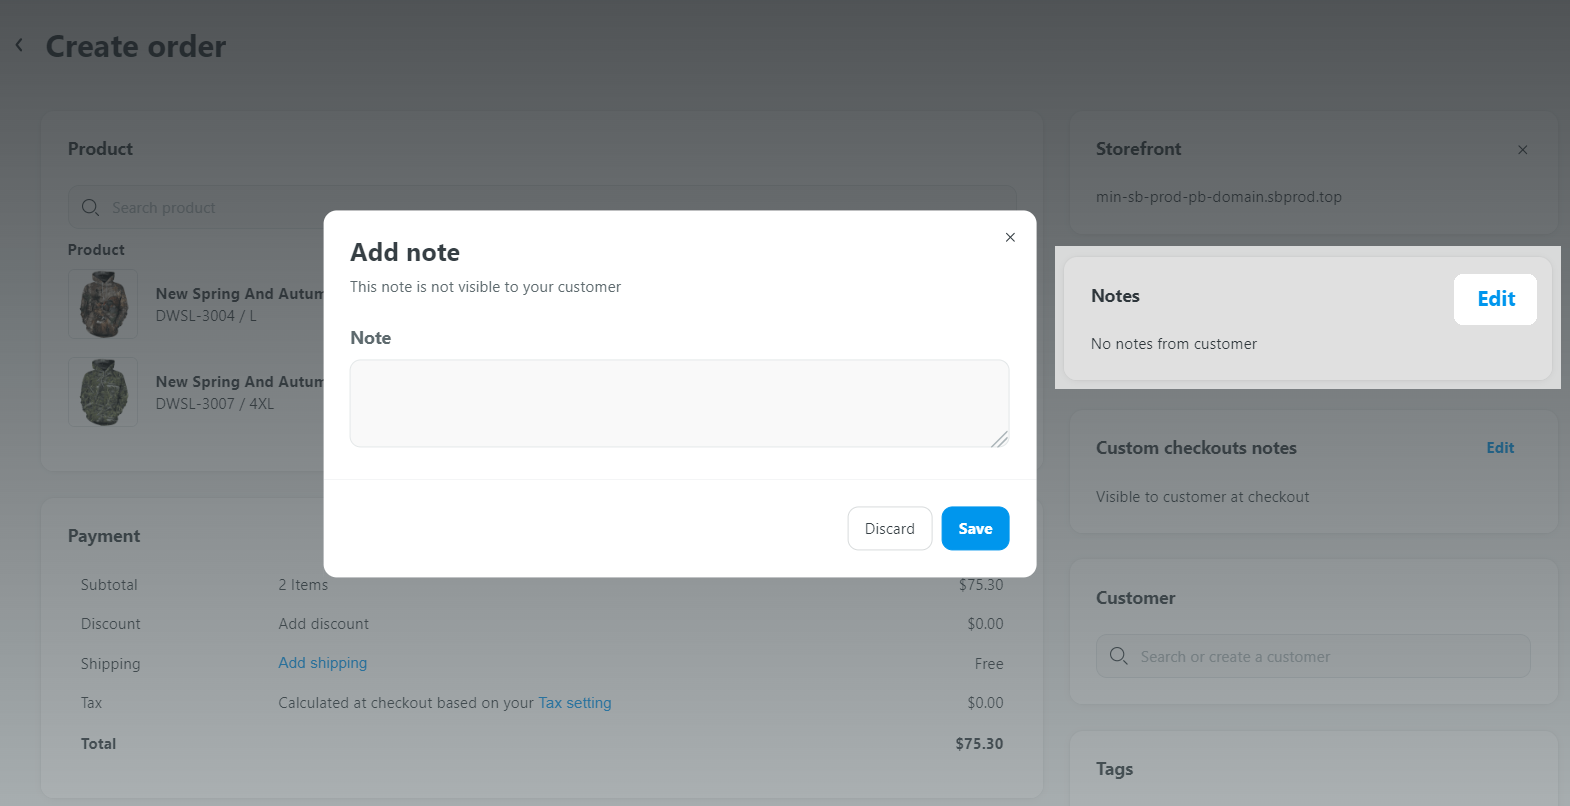
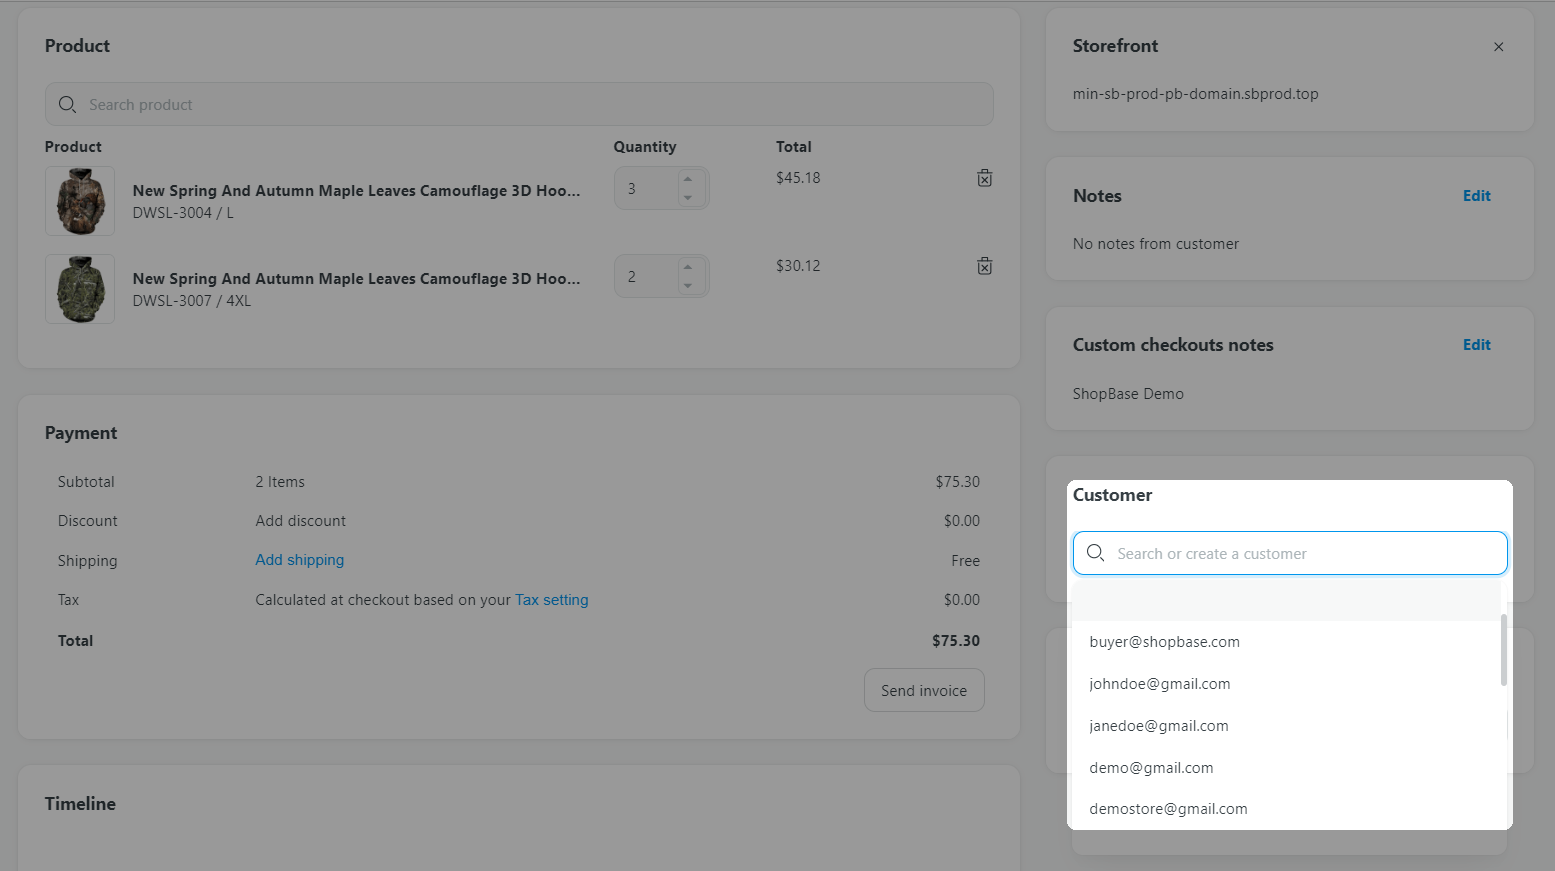
From the admin dashboard, go to Order > Draft. On the top of the page, click on Create order button to create a new draft order.
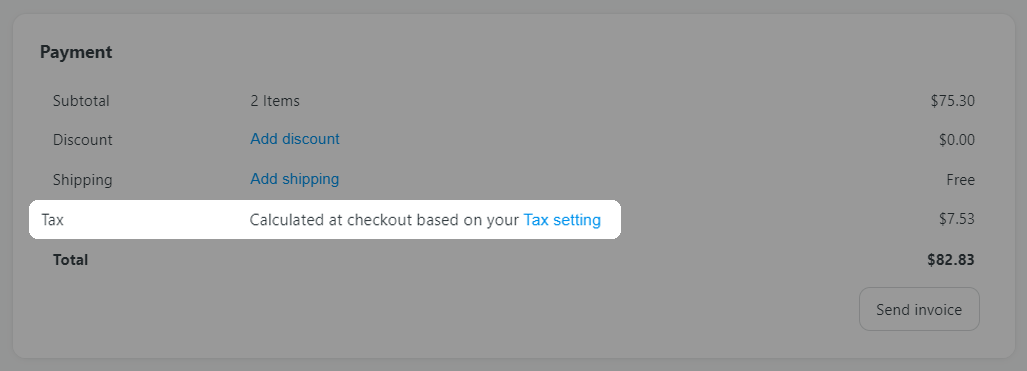
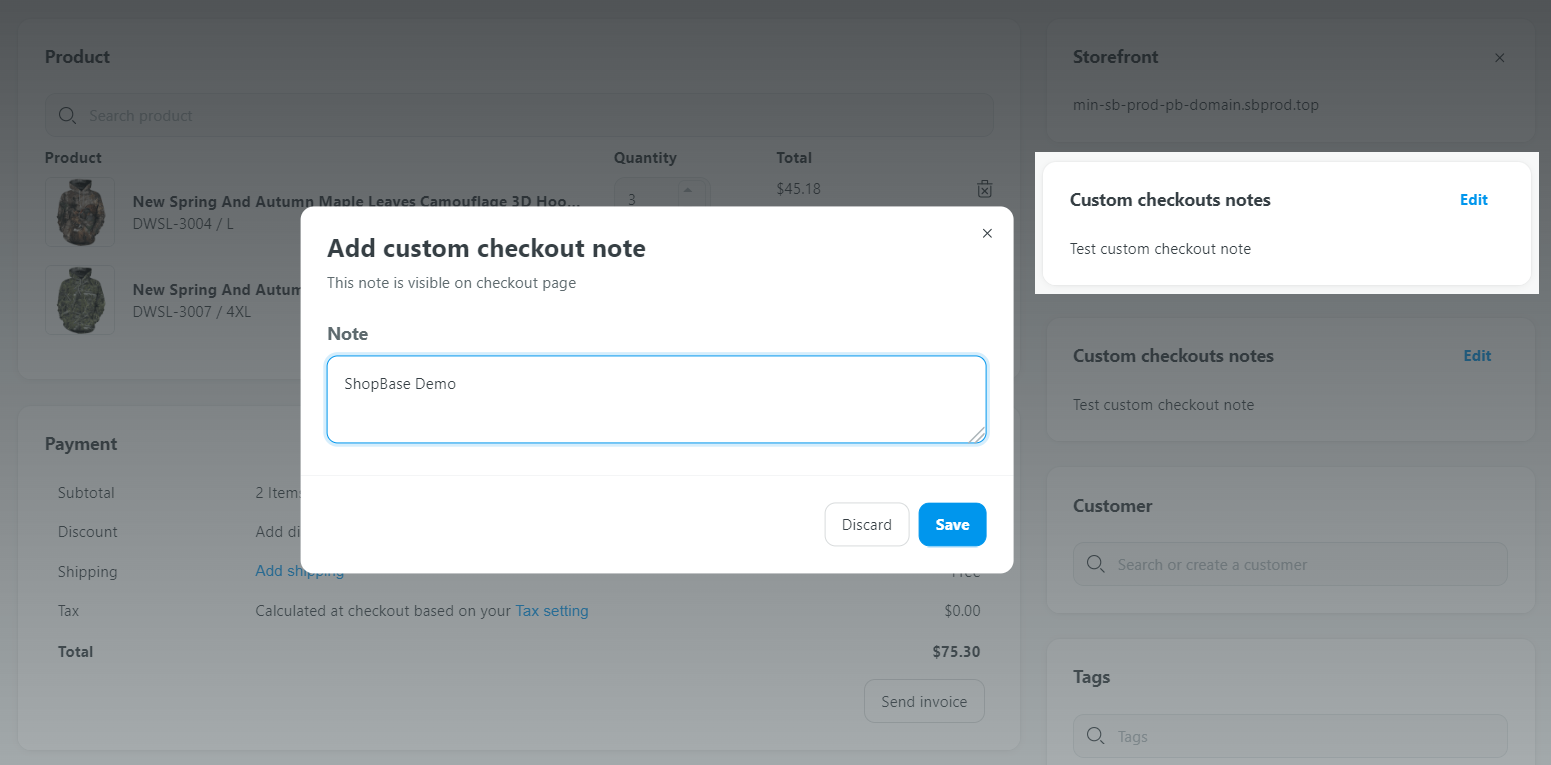
A draft order includes the following information:
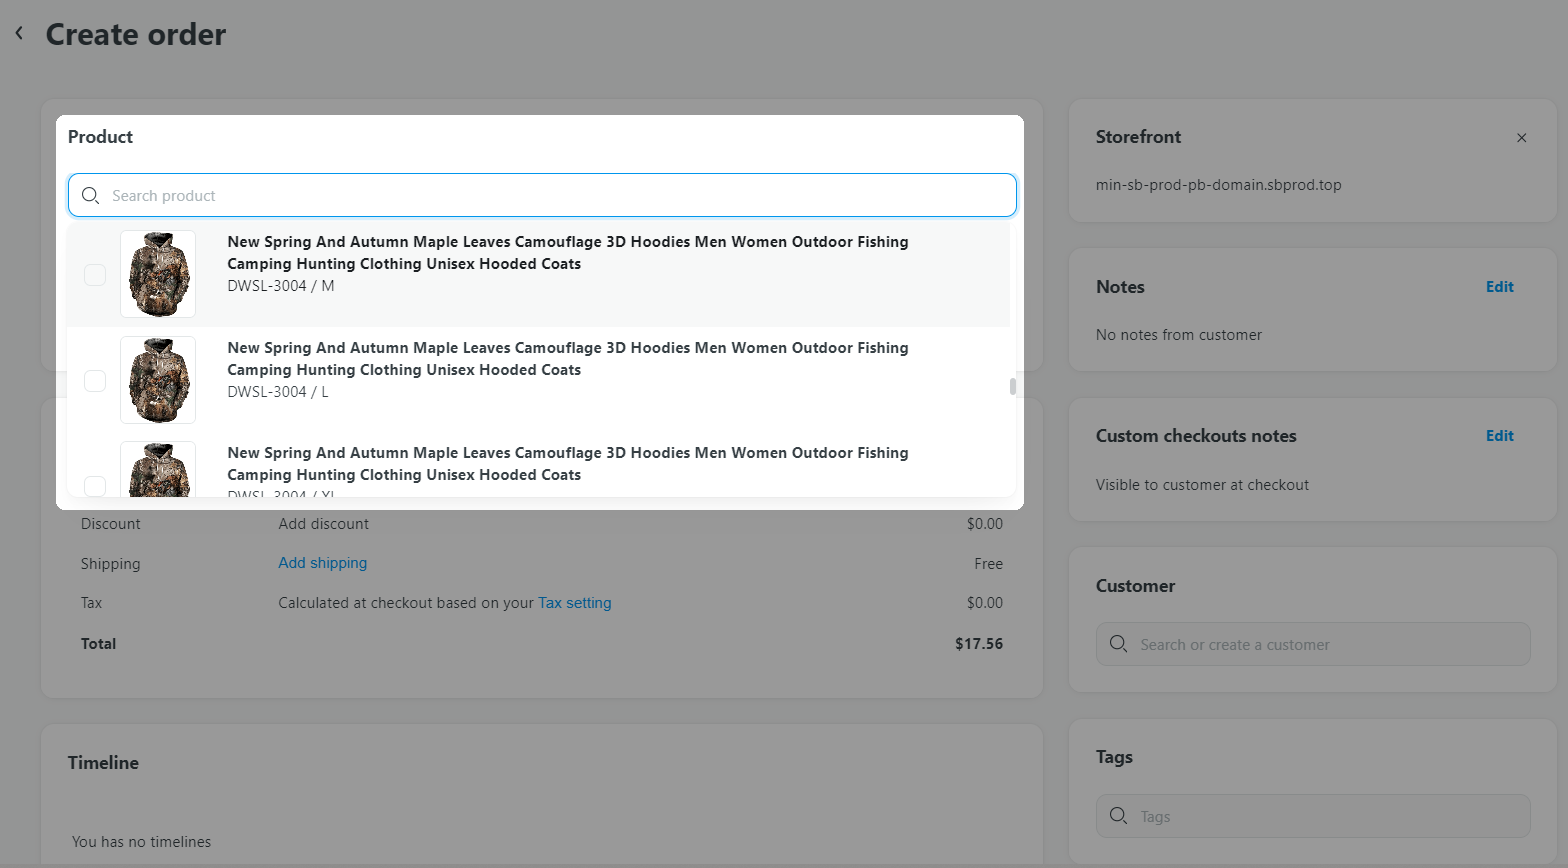
You have the flexibility to modify the product quantity. The subtotal of the item is calculated and displayed accordingly.

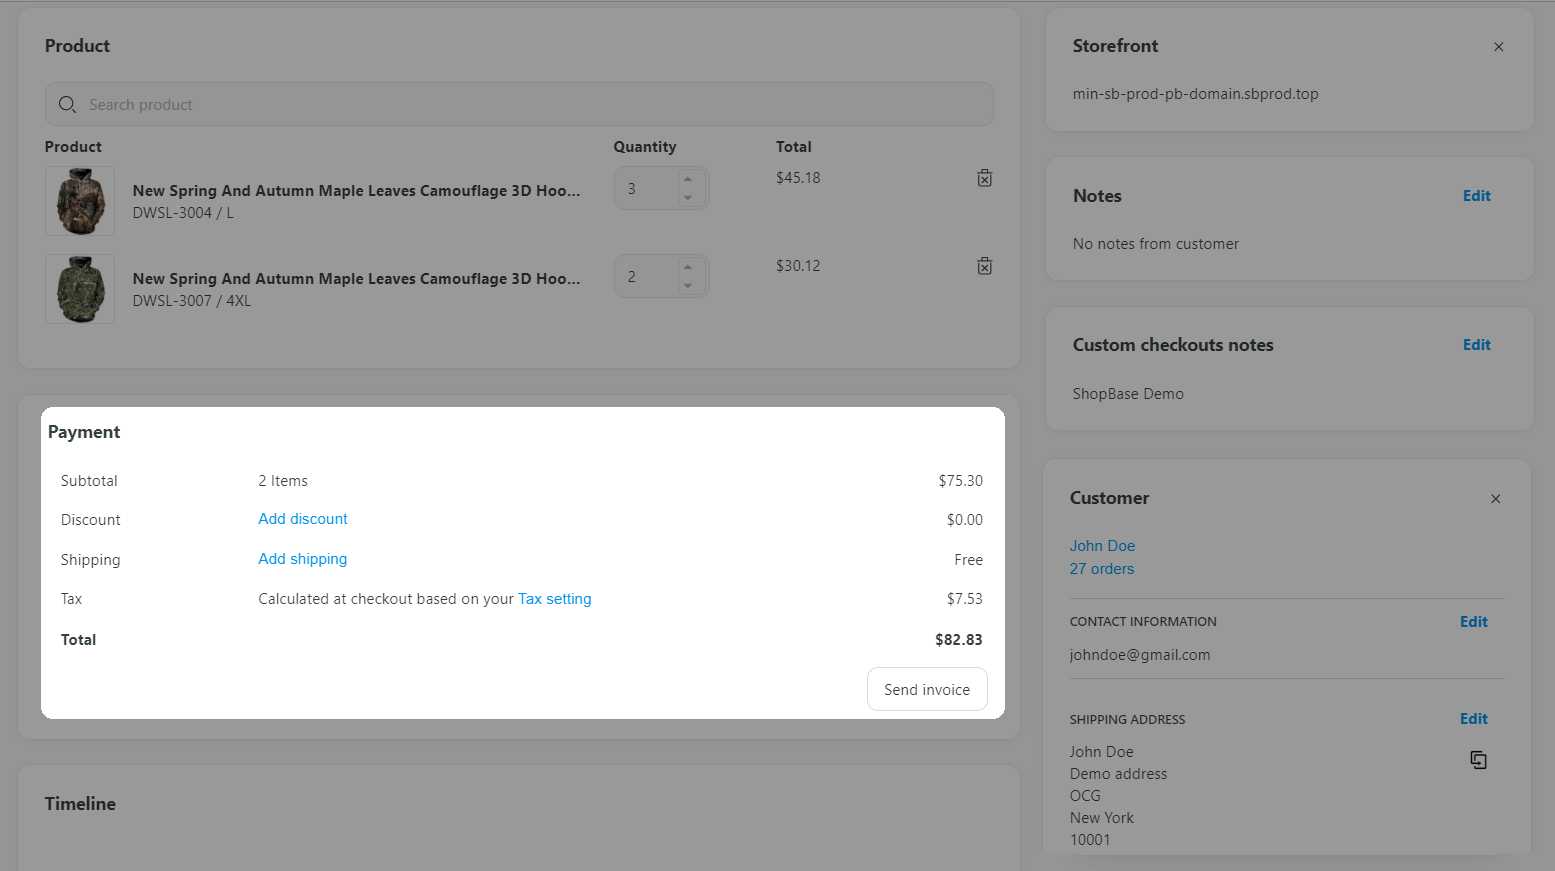
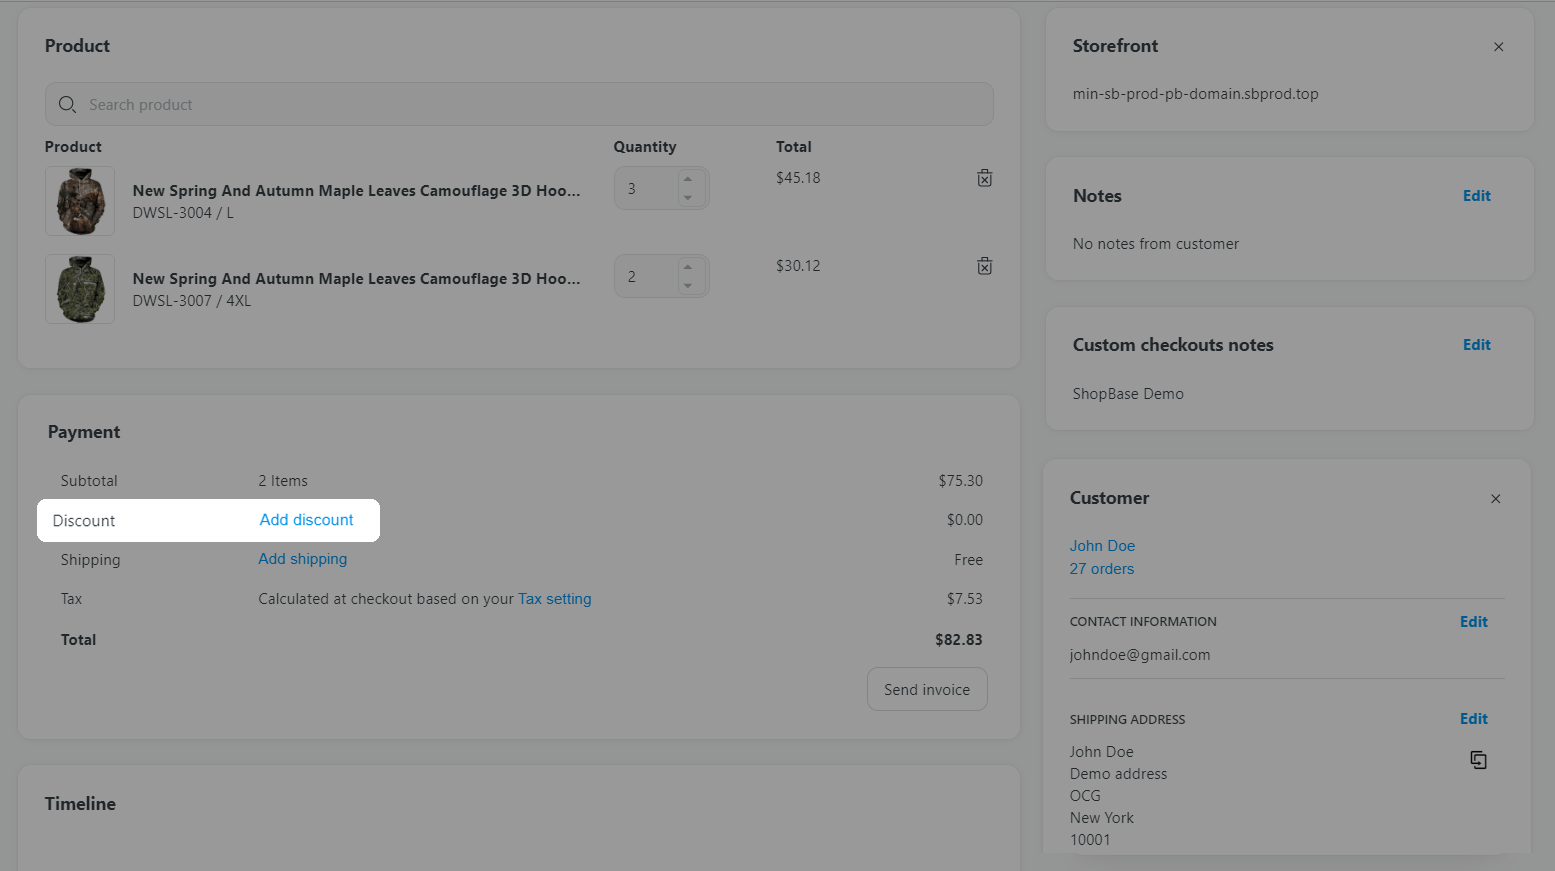
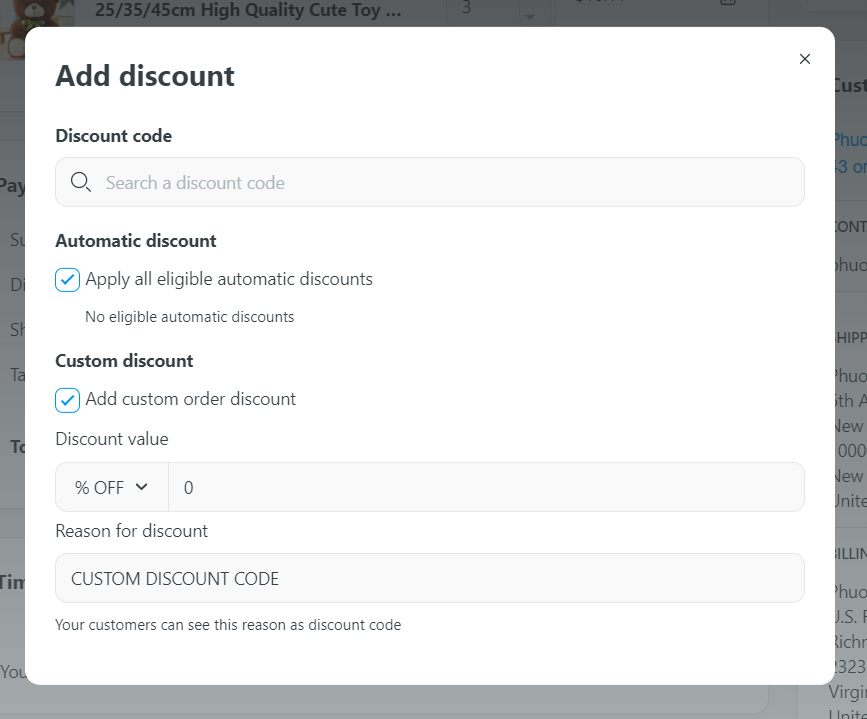
You can select from three types of discounts:
◆ Discount code: This can be set in the Discounts section. Navigate to Marketing & Sales > Discounts > Codes to do so. To learn more, please visit this article: Create a Discount Code.
◆ Automatic discount: This can also be set in the Discounts section. Go to Marketing & Sales > Discounts > Automatic for this option. For additional information, please visit the following article: Create an Automatic Discount.
◆ Custom discount code: Create a new code that can only be applied to this order. This code will NOT be saved in the Discounts section and cannot be reused in other orders.
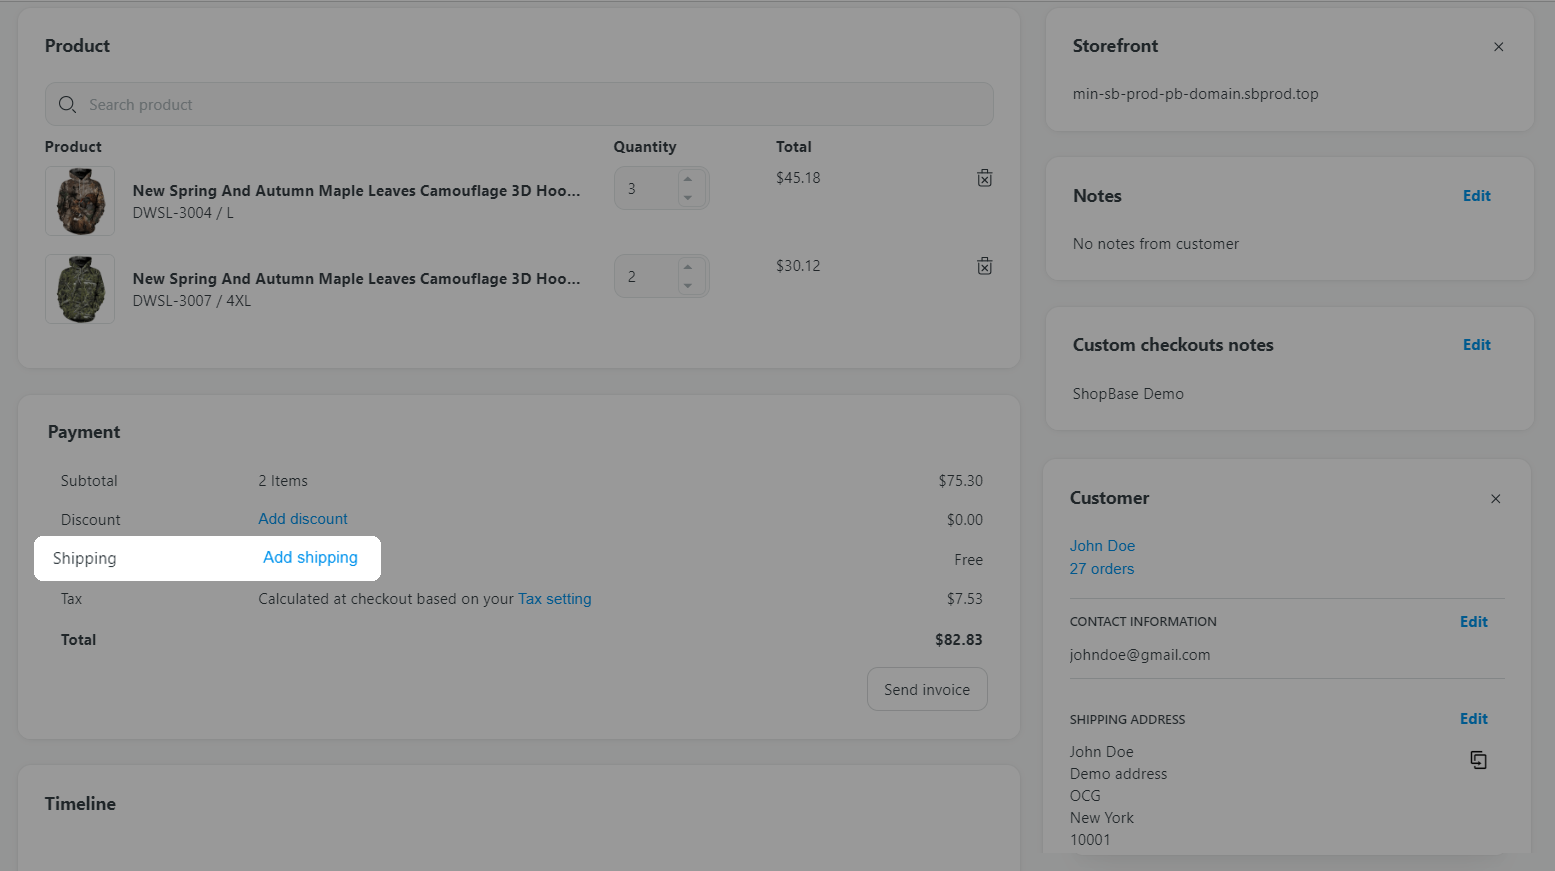
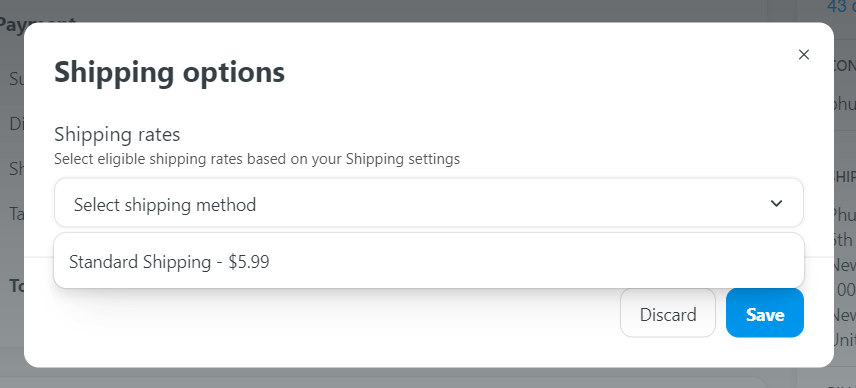
You can select the shipping method for this order once the customer location is filled.
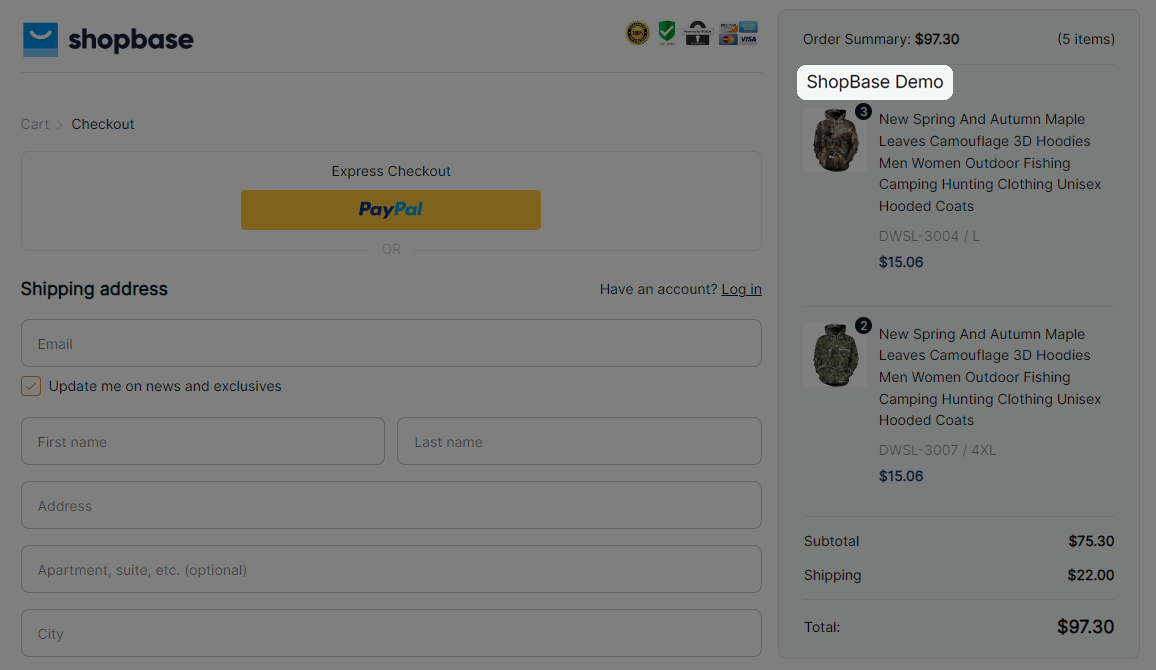
Its visibility to customers depends on your settings. You can set up the visibility (visible or hidden) in the Website Builder settings. Please refer to this article for more detailed information.
You can change these information by clicking on the Edit button.

New customers will be added to your contact list once a draft order under their email has been paid.
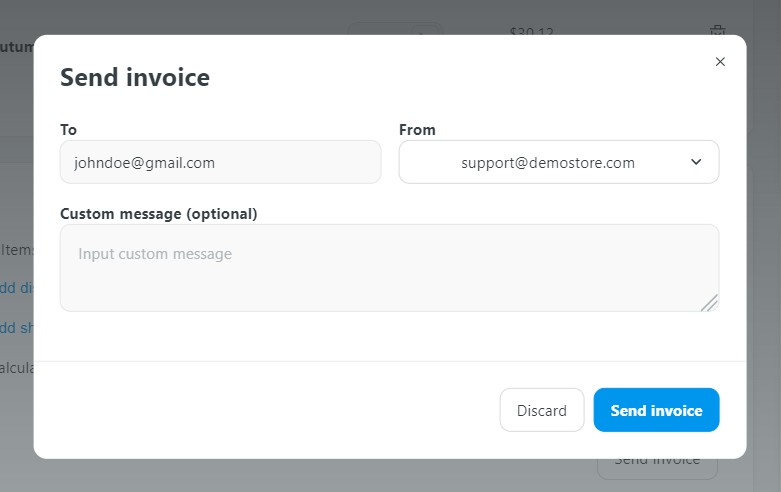
B. Share a checkout link with customer
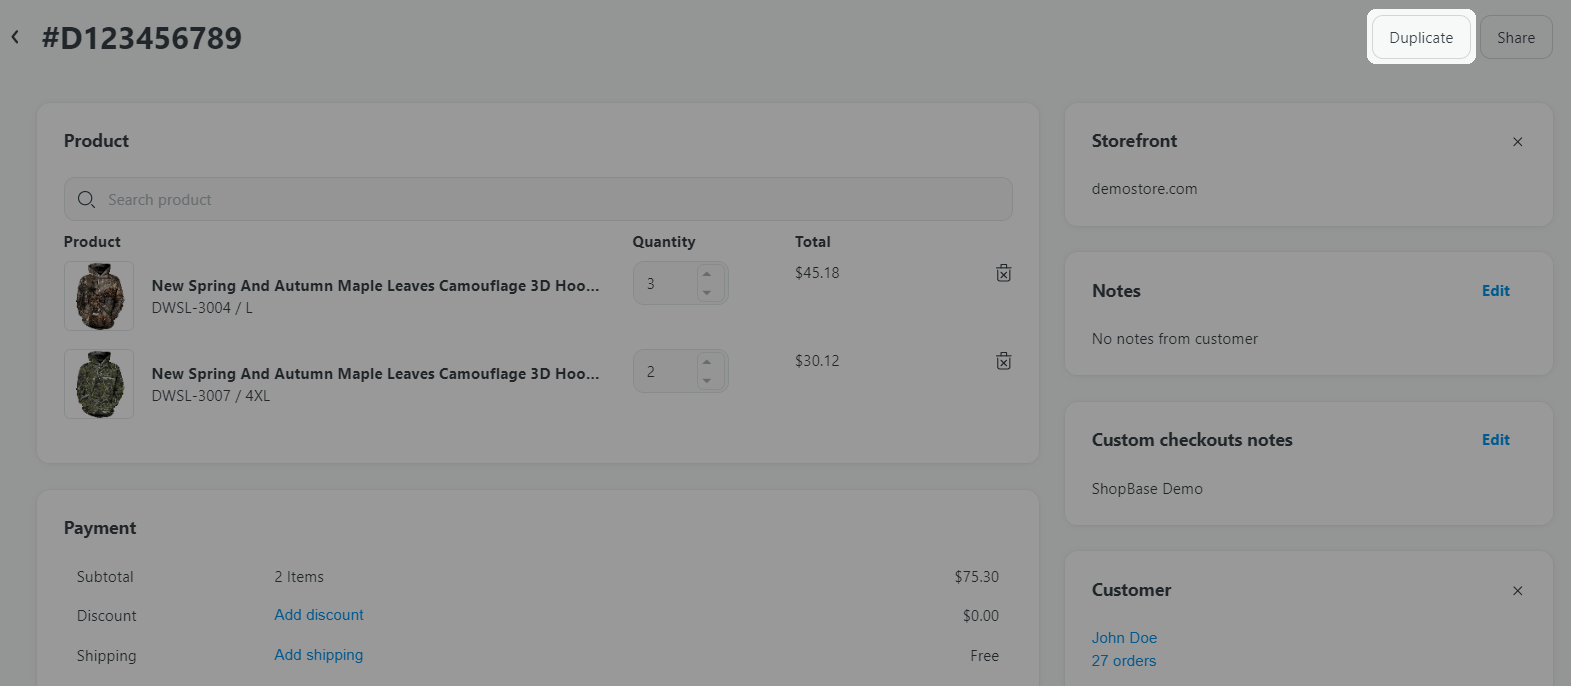
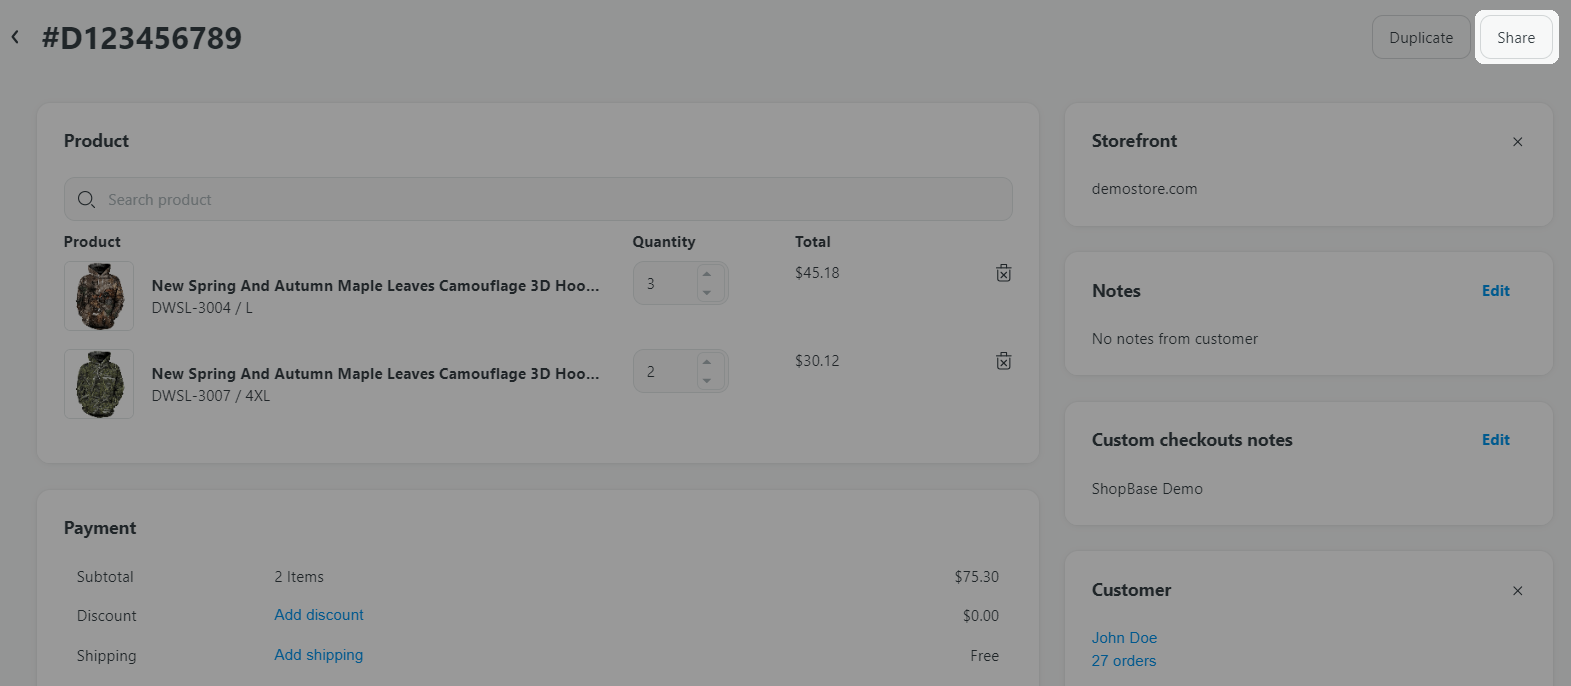
After a draft is created, a checkout link is automatically generated for that draft. You can share this link with your customer in two ways:

C. Mark an order as paid
Once customers have received the checkout link and proceeded to pay for the order, the draft is marked as complete and you will no longer be able to edit it.
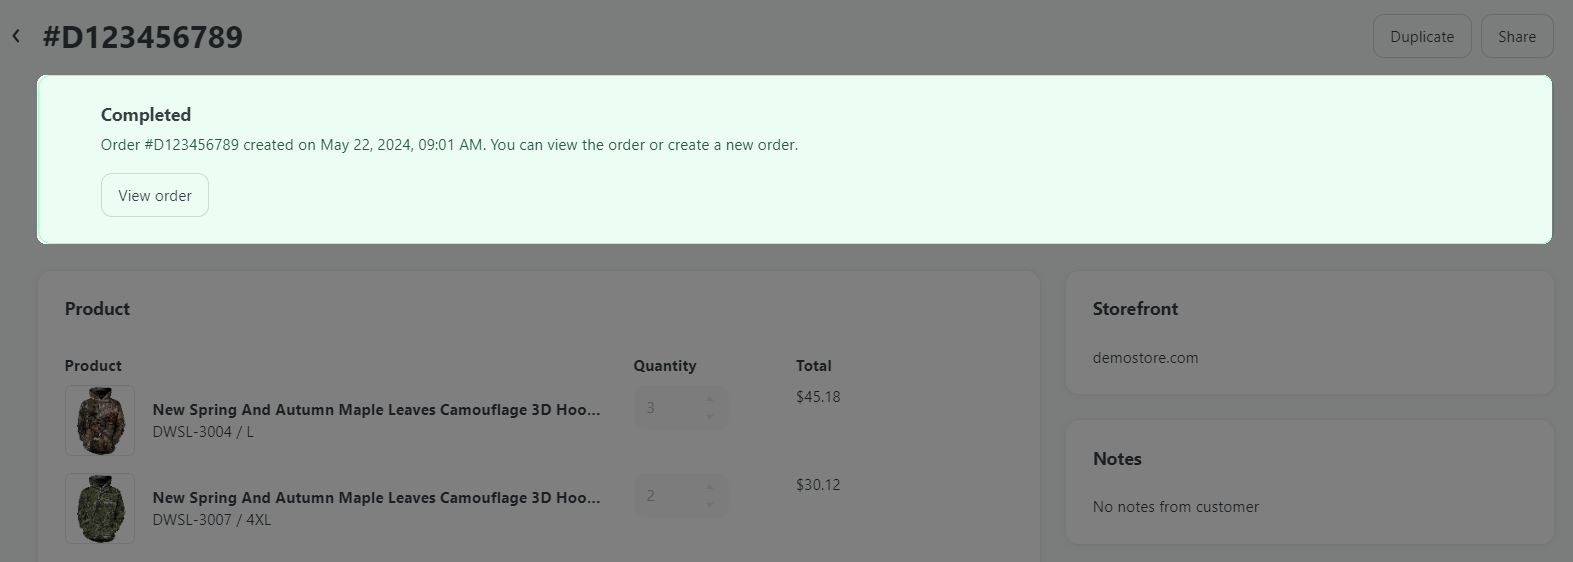
You can navigate to the order that has been created due to the successful checkout, and this order can then be fulfilled as usual. For more information on how to fulfill orders, you can visit this article.
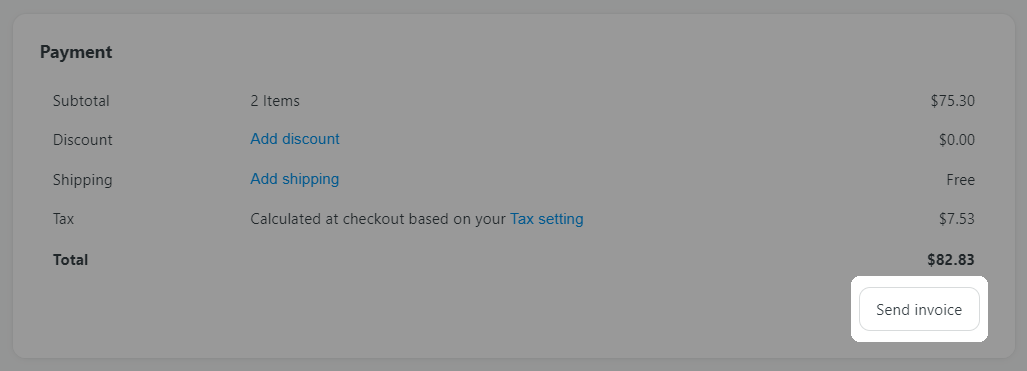
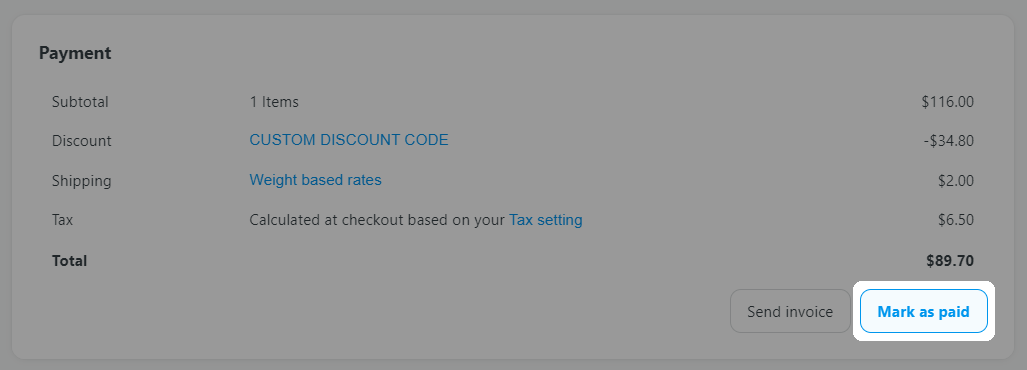
Additionally, you have the option to manually mark an order as paid without requiring the customer to go through the checkout process via the invoice link. You can do this by navigating to the Payment section of the draft and clicking on the Mark as paid button.
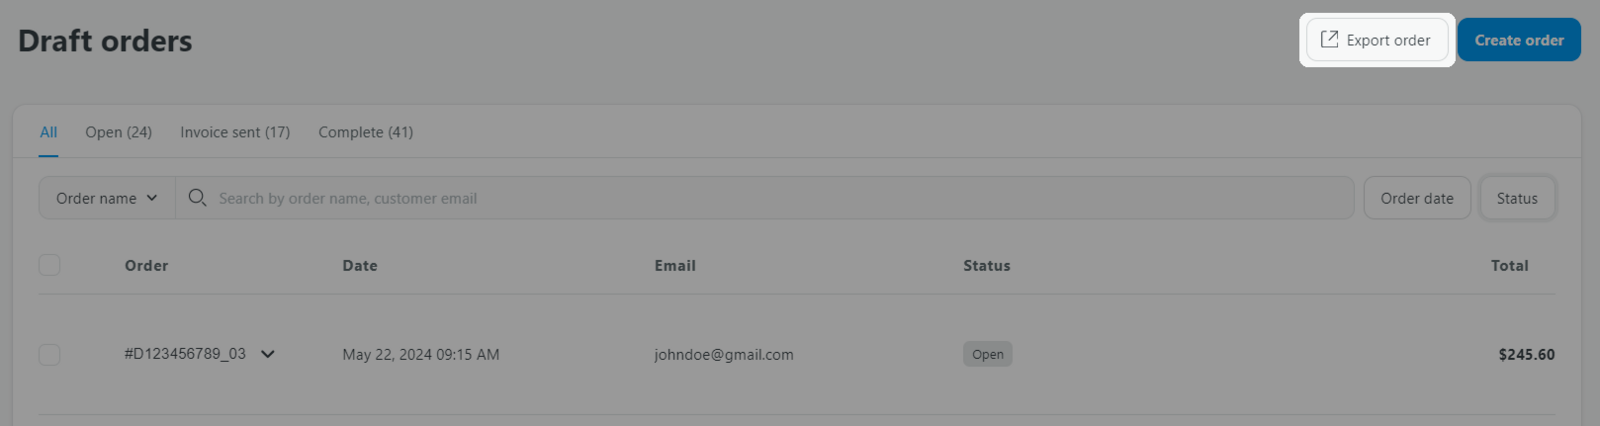
D. Manage draft orders
The dashboard provides a list of all draft orders you have created, along with their current status. Draft orders can fall into one of the three following statuses:
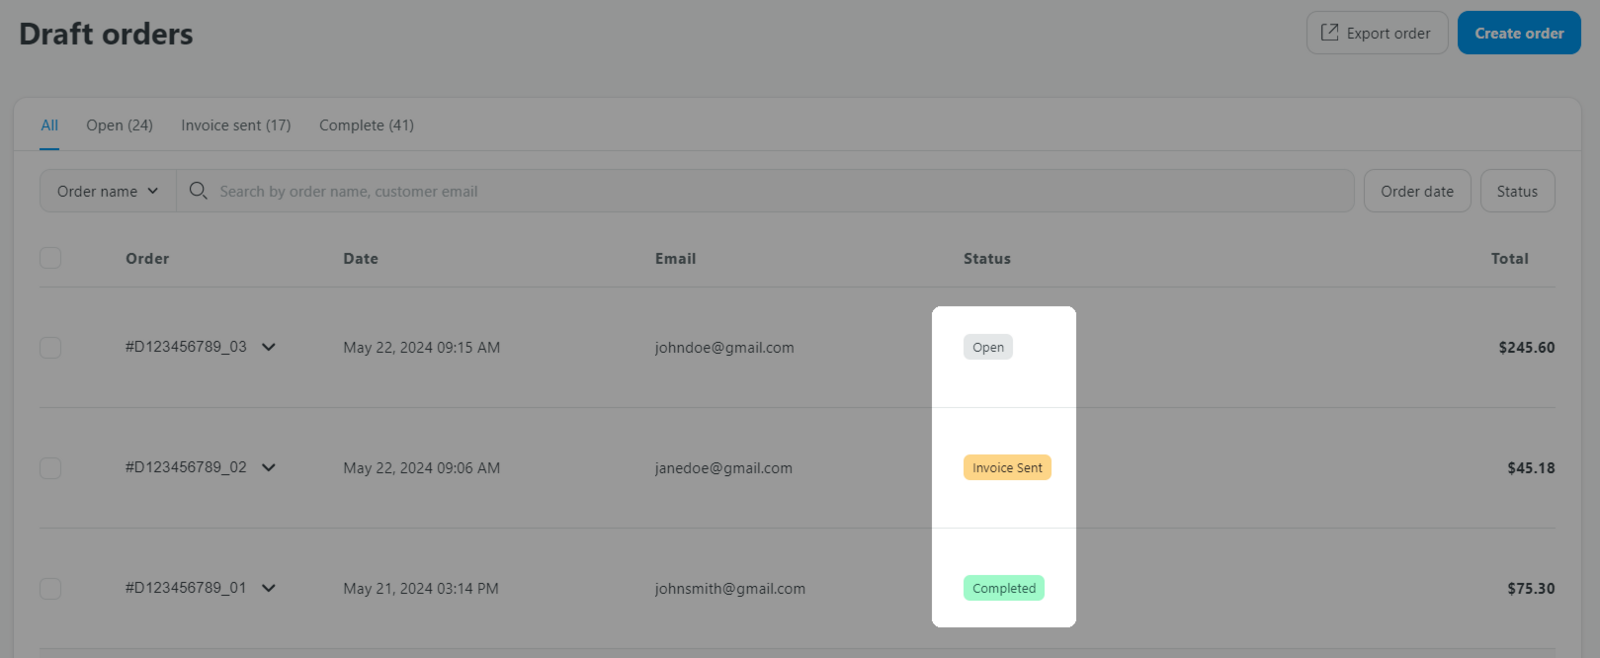
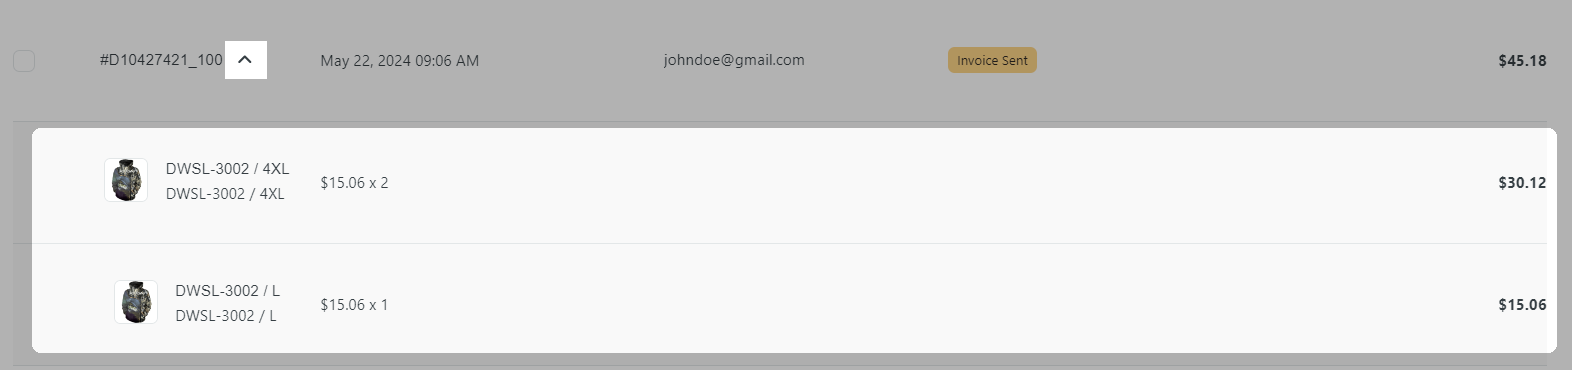
You can click the expand arrow next to a draft order's name to view the products that have been added to the draft.
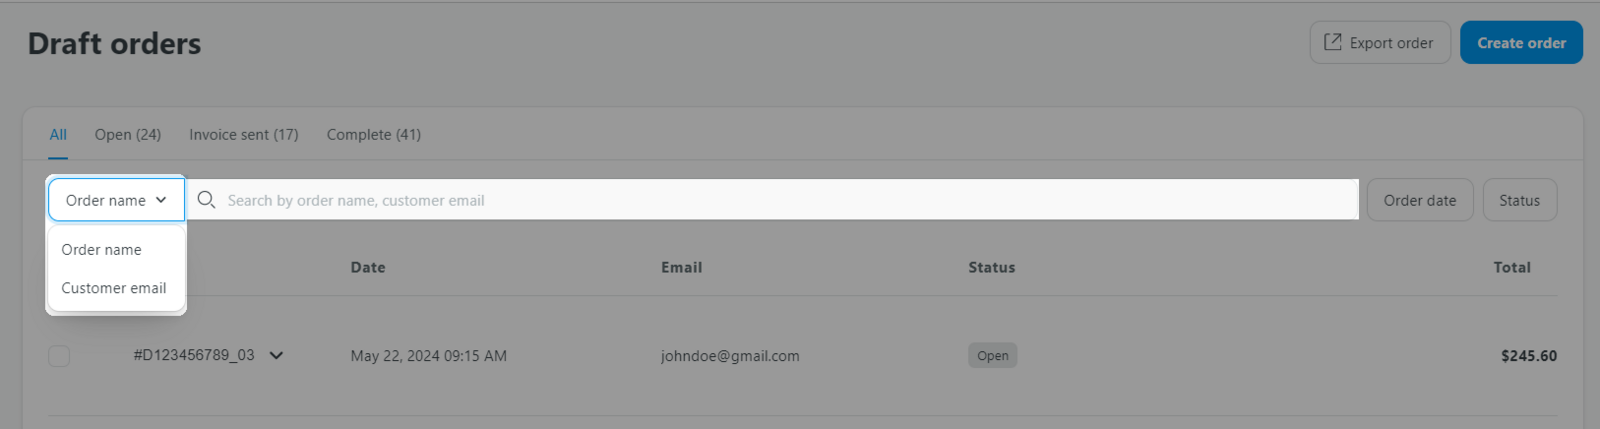
You can search for specific drafts by using the order name or customer's email.
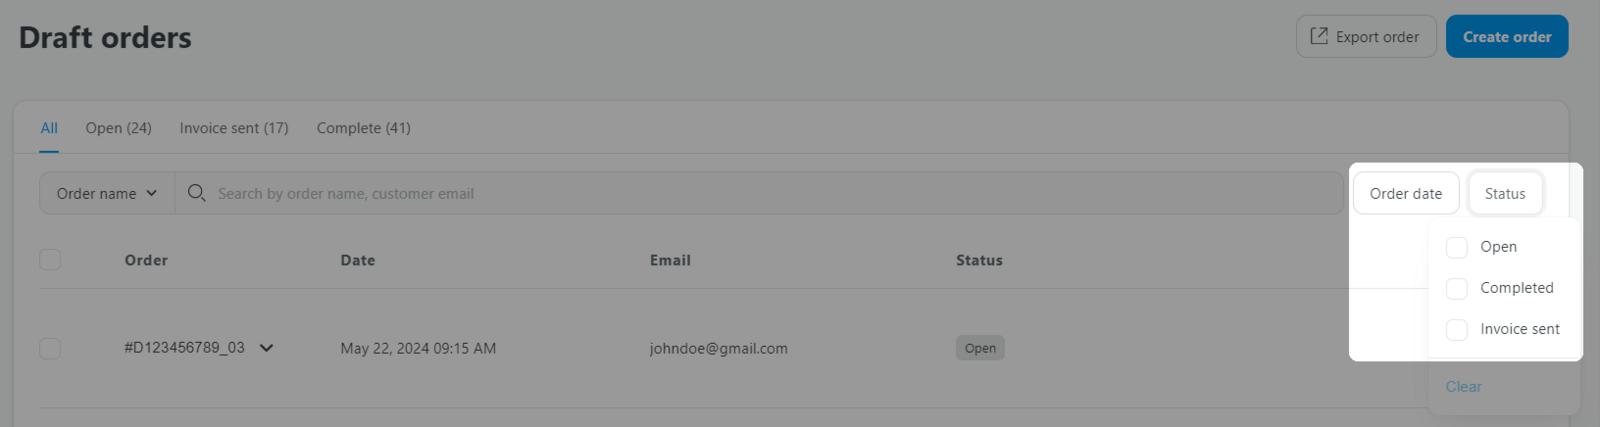
You can filter the list of drafts by order date and status.
You have the option to export the filtered list to a CSV file for further analysis or record-keeping. This file will be sent directly to your email.