Before you begin rebuilding your website pages with the Website Builder, let's talk about the structure of your page. Pages built with the Website Builder are made up of:
Blocks
and Sections.
Each section of your page is made up of specific blocks.
On ShopBase Creator, we provide you with Sections templates containing specific Blocks to streamline the process of designing your page. However, each section can be customized to your liking. And, regardless of which section you select, you can always remove, add, or edit the blocks within your chosen section to create a page that is unique to your brand and business.
In this article, we will show you the basics on how to launch a web page using Website Builder.
In this article
A. Insert sections and blocks to your web page
B. Edit content and layout
C. Add Call-to-Action buttons
A. Insert sections and blocks to your web page
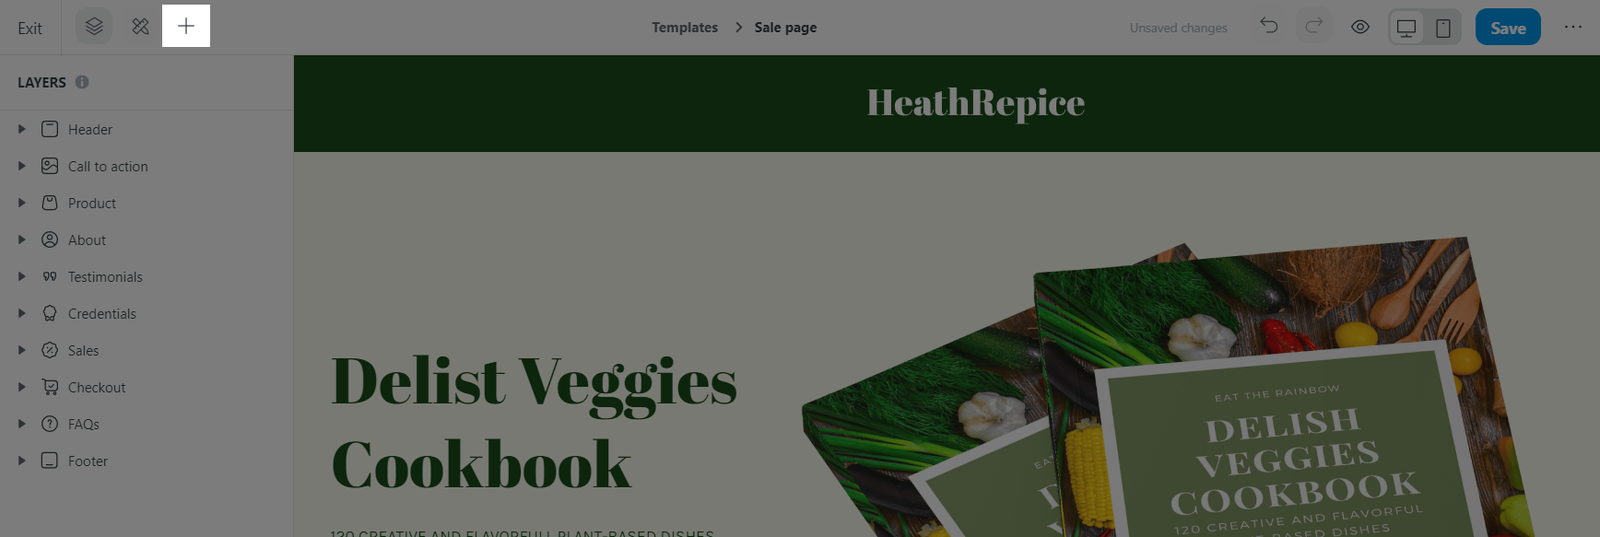
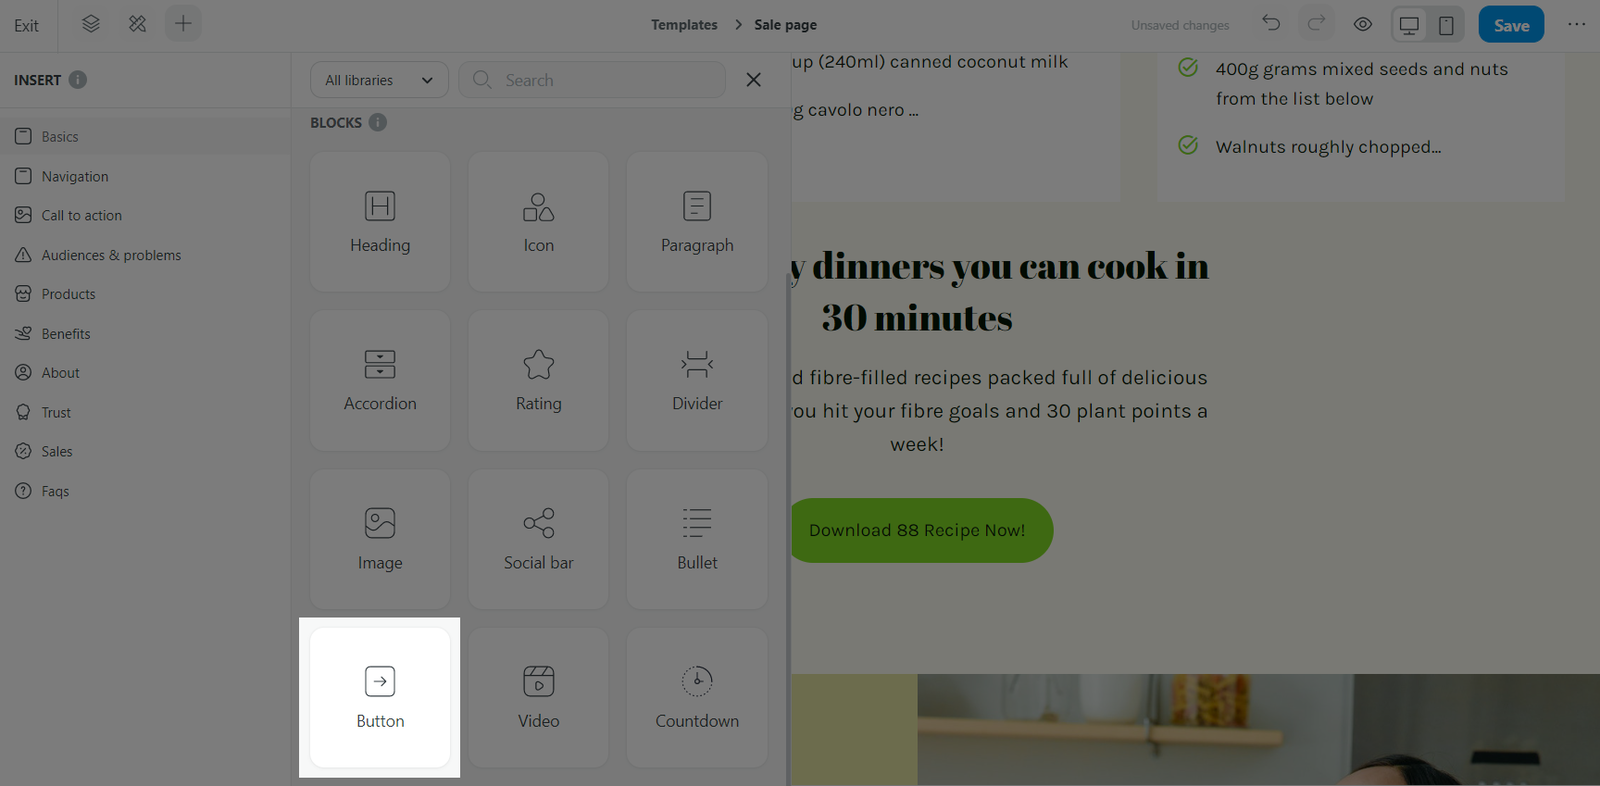
From the Website Builder, click the button to open the Insert panel.
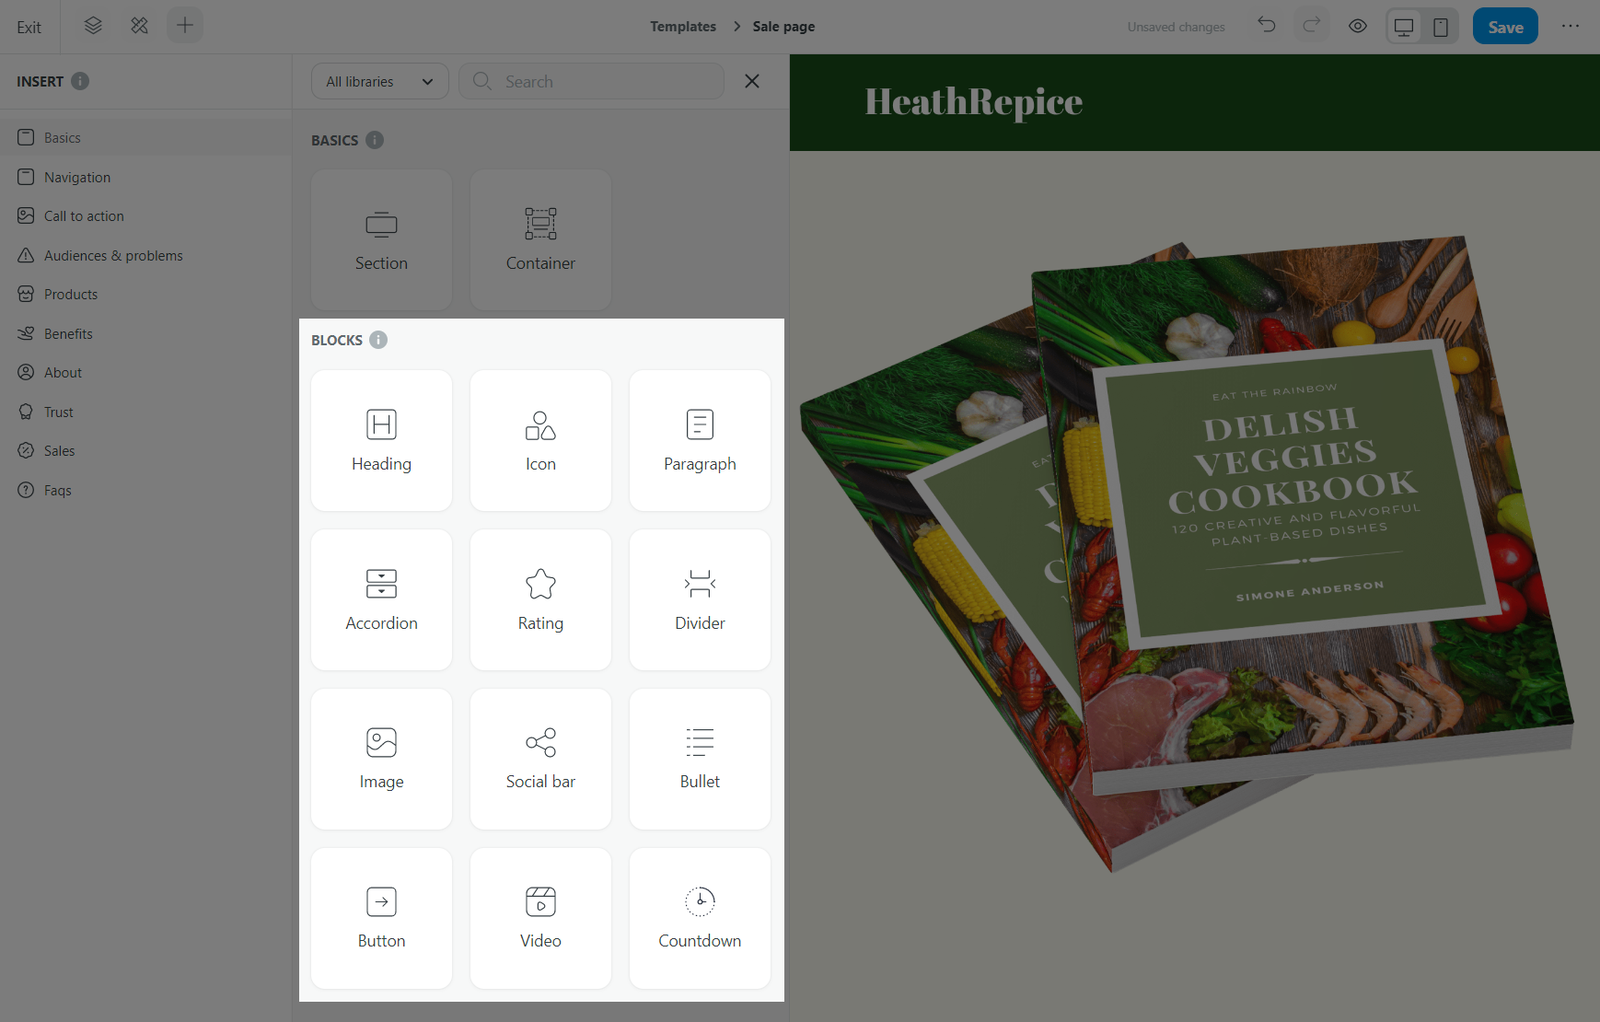
You can select a basic
block to design on your own. Below is the list of blocks readily available in the Website Builder:
Heading
Icon
Paragraph
Accordion
Rating
Divider
Image
Social bar
Bullet
Button
Video
Countdown
On your web front, you can also choose a section from
a template library of various prebuilt
sections. Each section is designed in a variety of layouts and content types to serve different functions on your website.

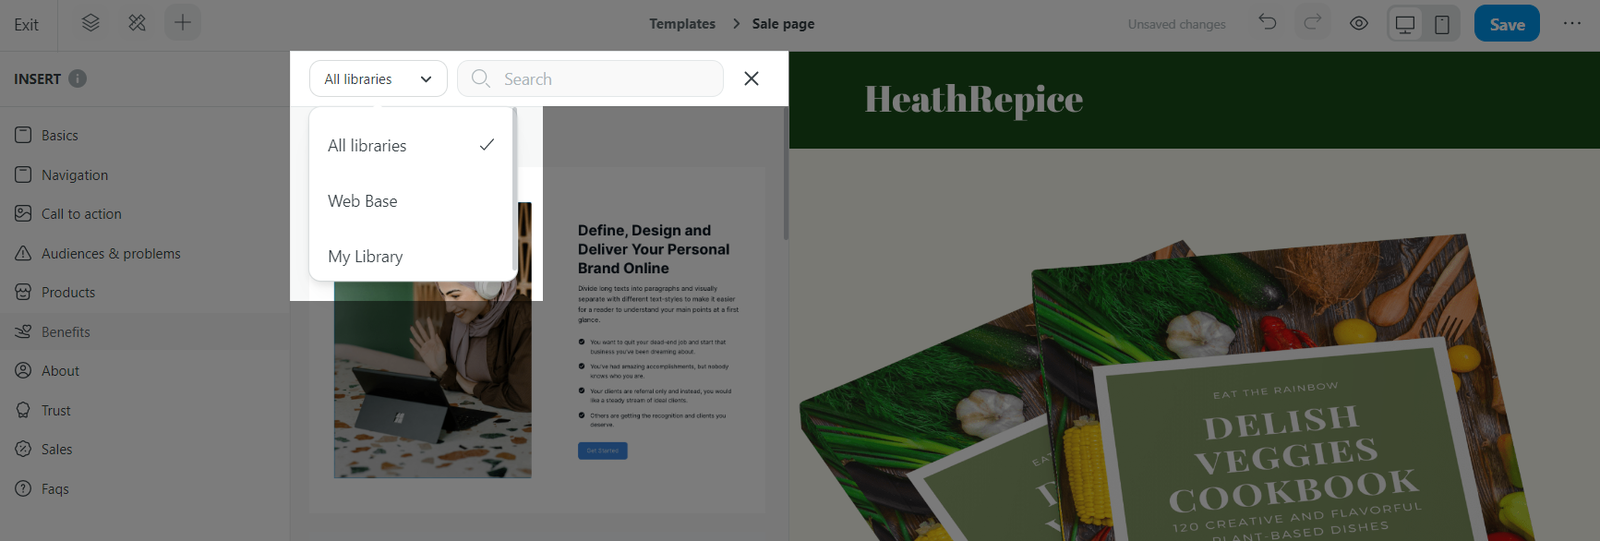
To filter out template libraries, use the filter menu. Templates that you have saved are also shown here. You can also search for available templates by topic, product or service, etc.
You can insert a new block/section to your web page by clicking and dragging the desired block/section from the Insert panel to the Web front area.
B. Edit content and layout
Once you have selected a block/section and place it into the Web front area, you can rearrange them to the desired position:
For blocks: Click and drag to rearrange a block within a section.
For sections: Change the section order on the web front by clicking the respective buttons.
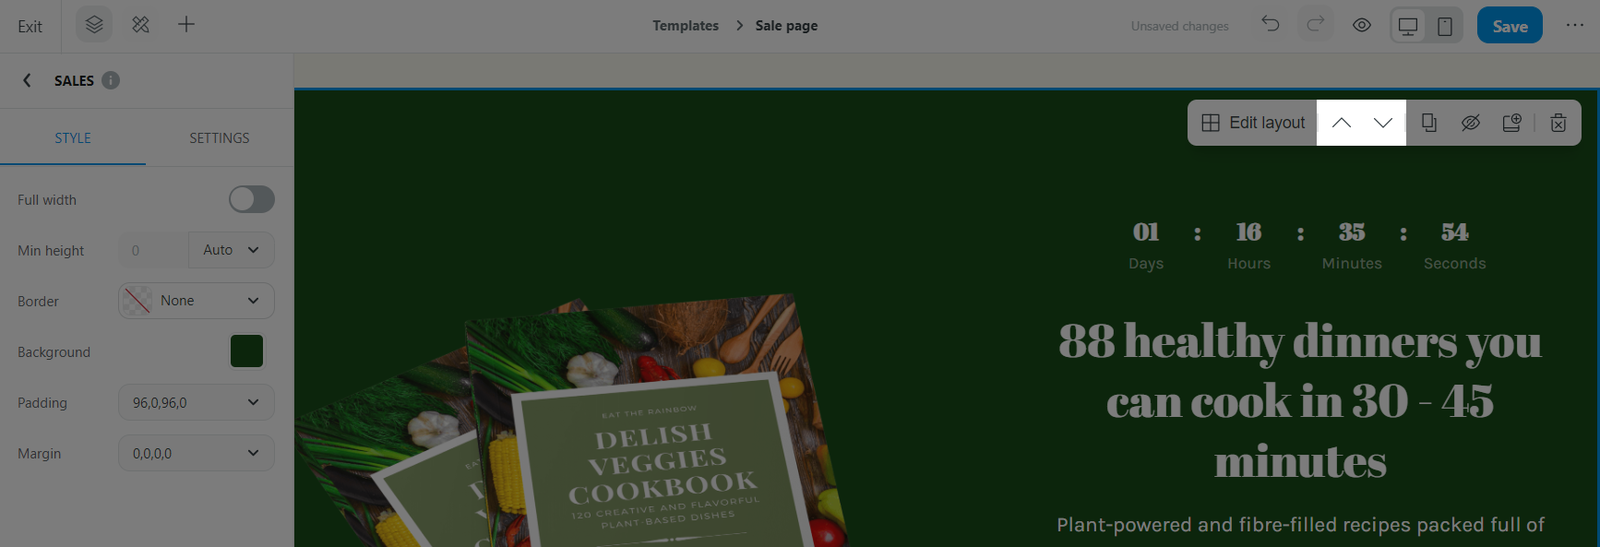
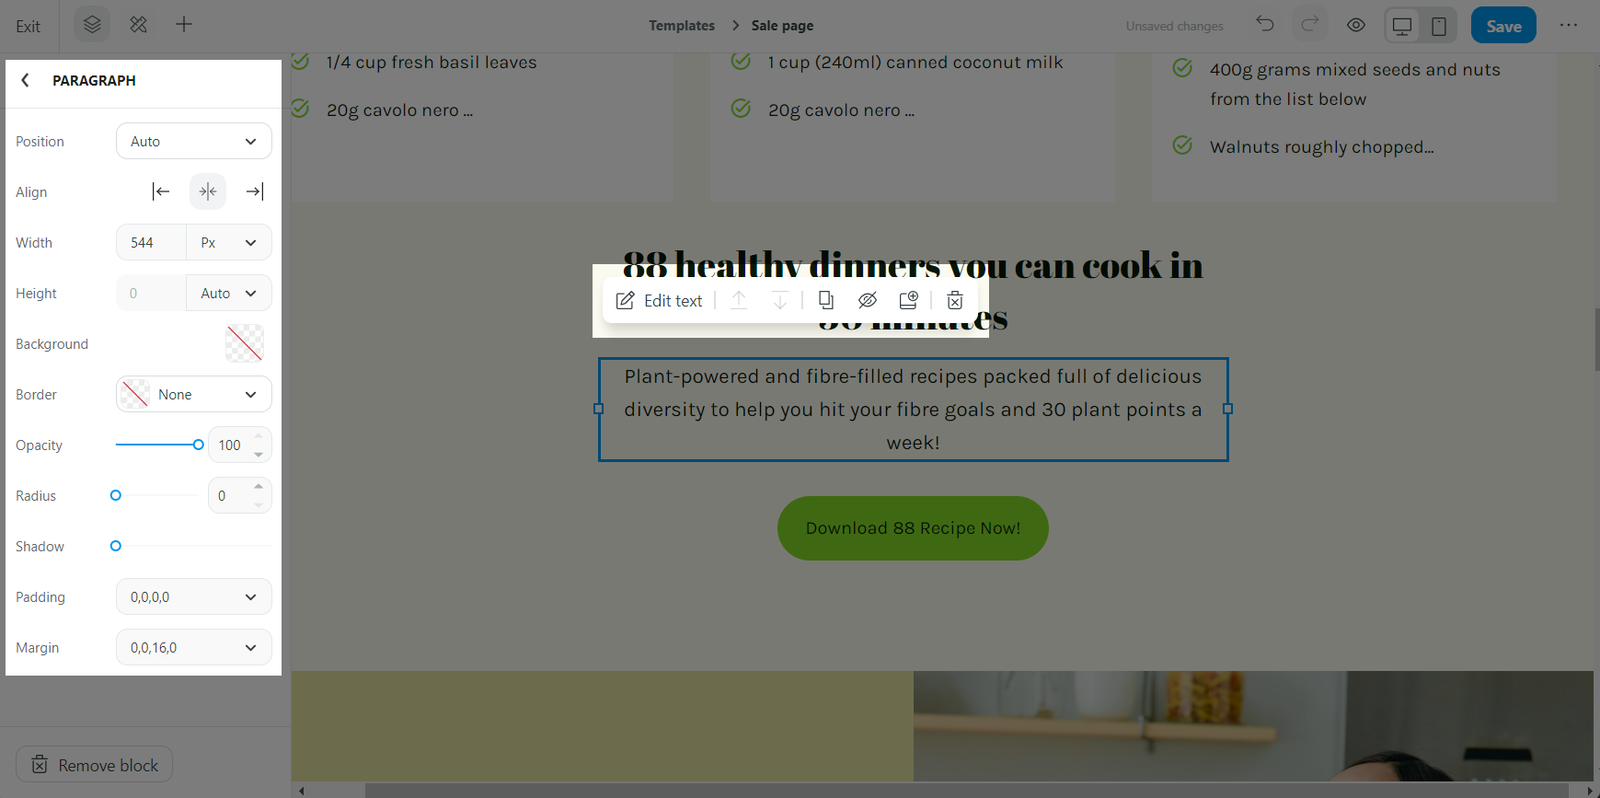
Click on a block and edit its content and properties using the Quick bar setting and the Side bar settings.
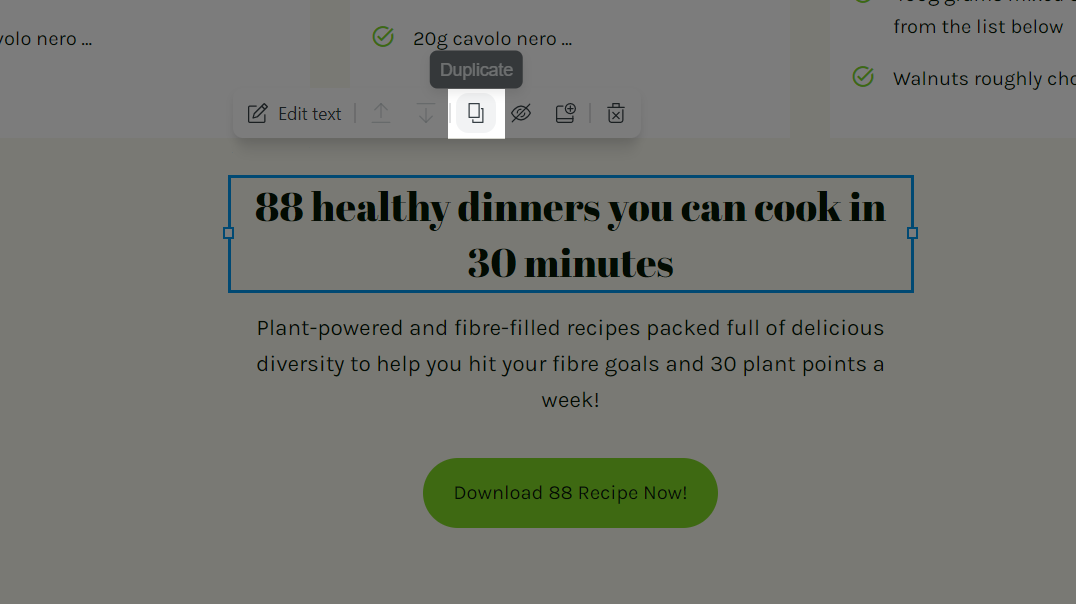
On the Quick bar setting, you can utilize the Duplicate feature to quickly make a duplication for repeated blocks/sections on the web page.
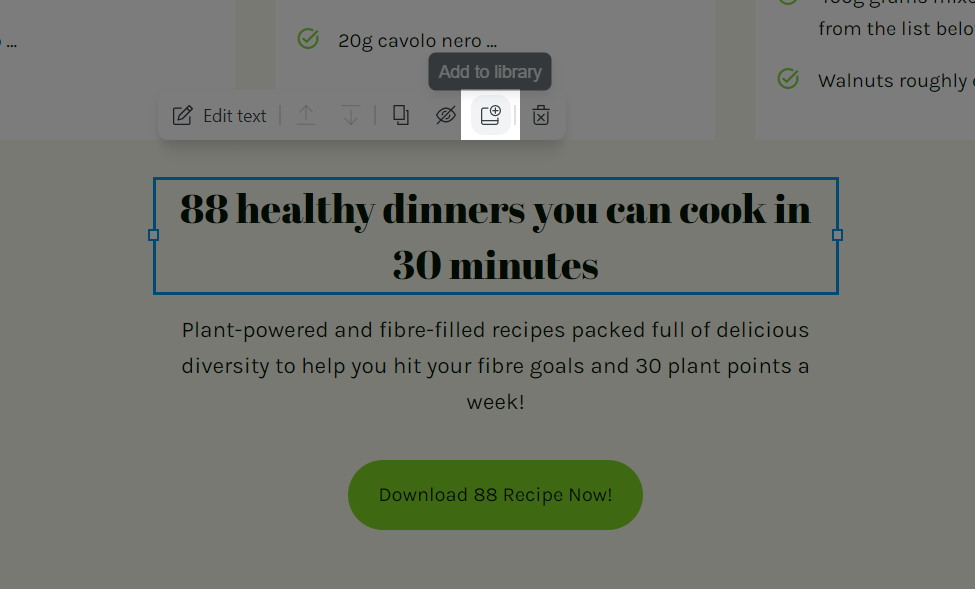
You can also save the blocks/sections to your library for later use by clicking on the Add to library button.
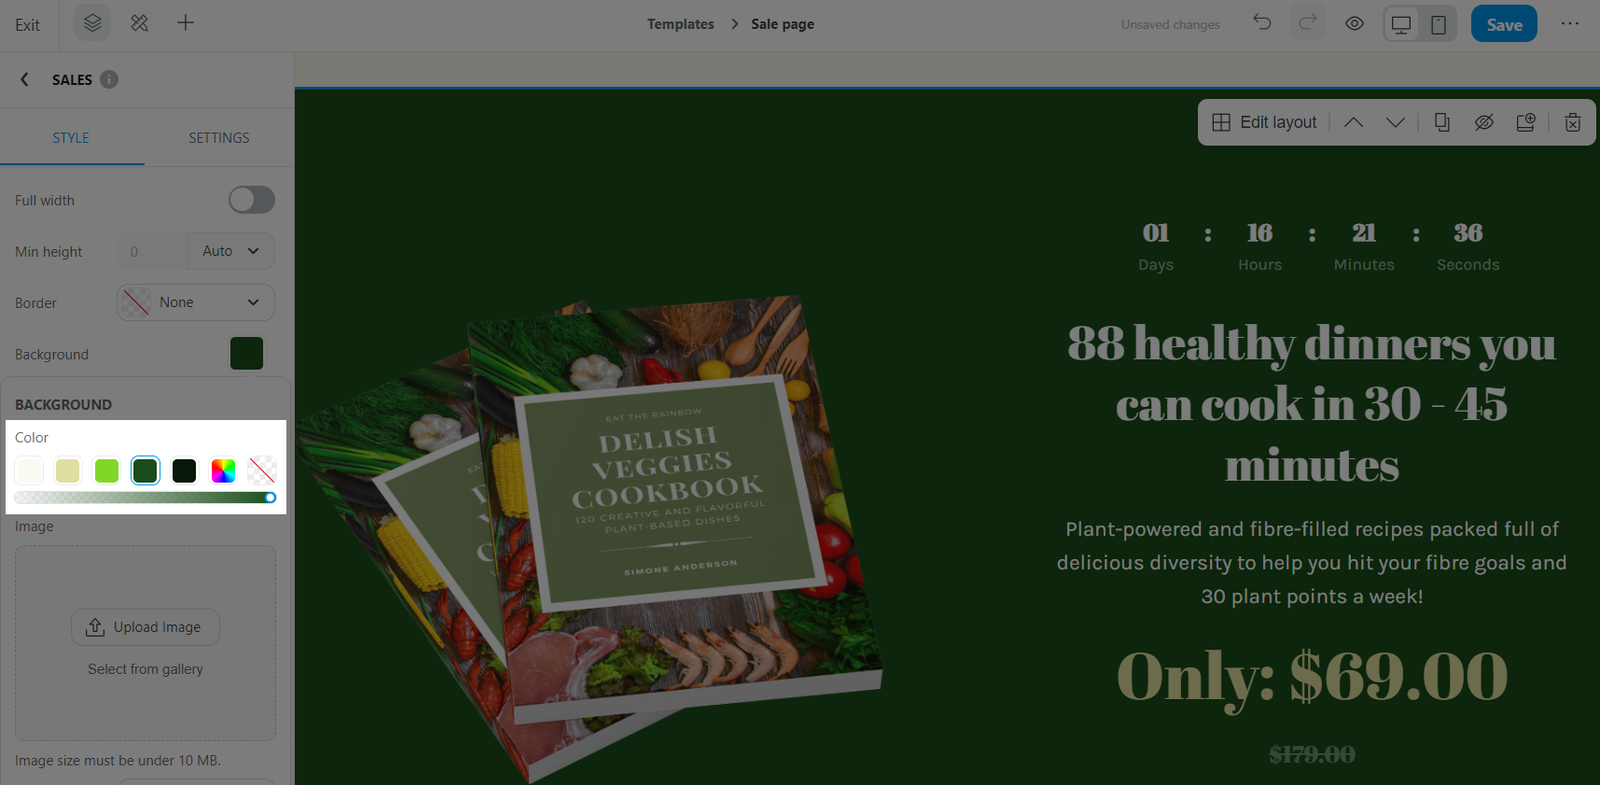
When choosing colors for your section/block, keep in mind to use the color preset provided in the
Styling settings, which have been carefully selected to ensure contrast and harmony, to achieve uniformity across the website.
Read more: Set up blocks on Website Builder.
To add a Call-to-Action button to your web page, from the Insert panel > Basics, click and drag the Button block to the desired position in your web front, or you can select a prebuilt template section from the library that contains your preferred Call-to-Action button.
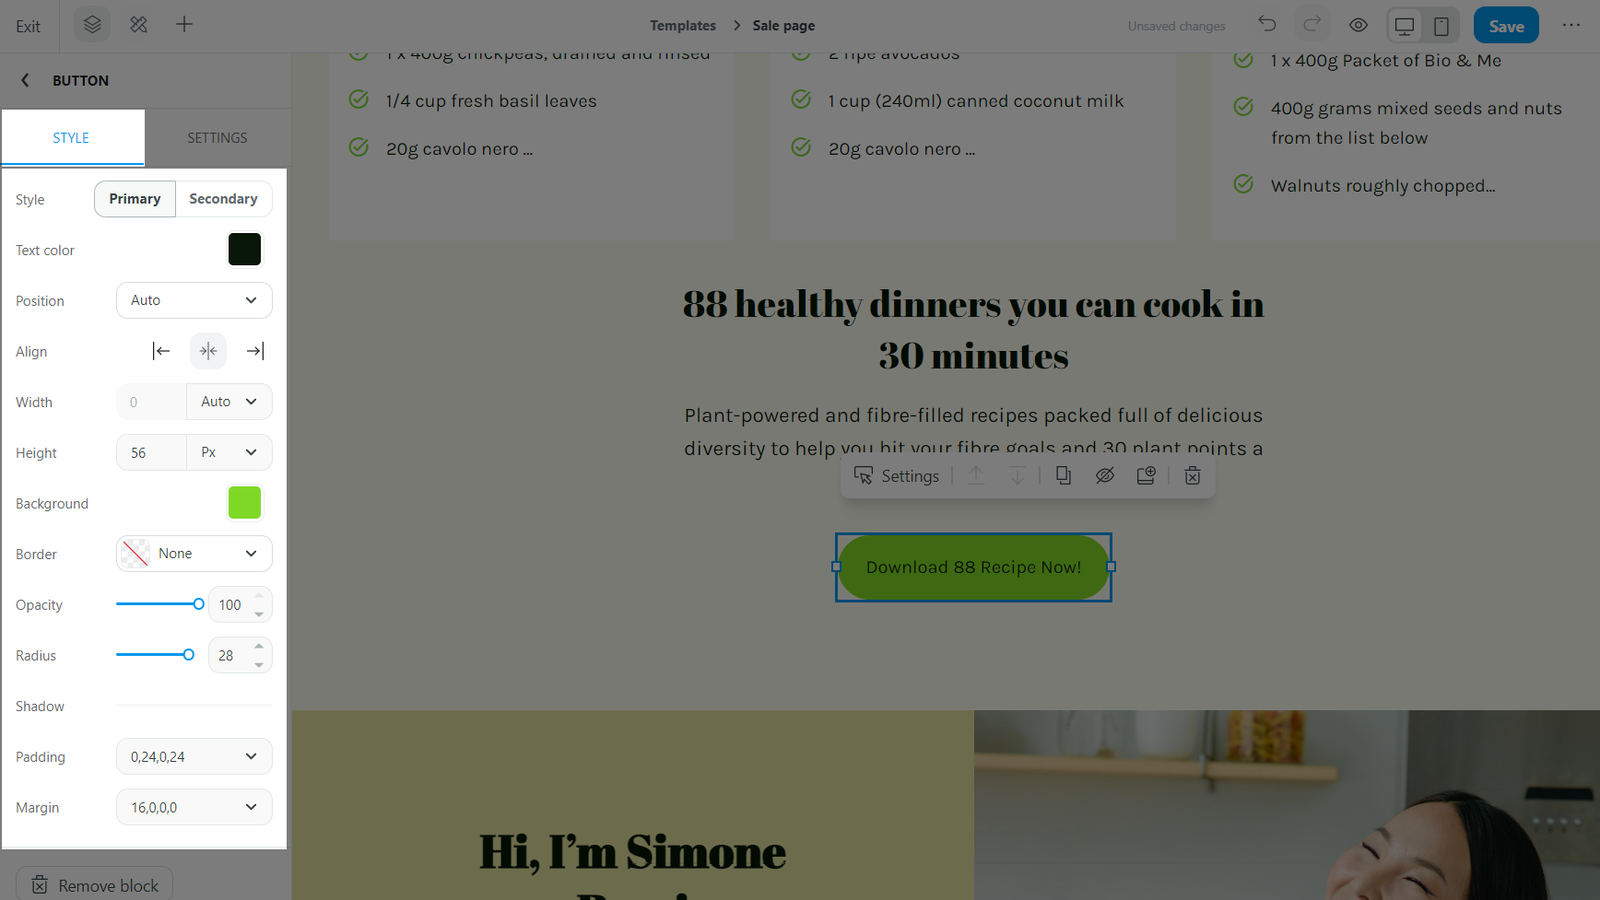
The button's Styles settings will be in accordance with the styles that you have set up for the web page. You can make changes as needed, such as switching the button from Primary to Secondary, changing its alignment or opacity, etc.
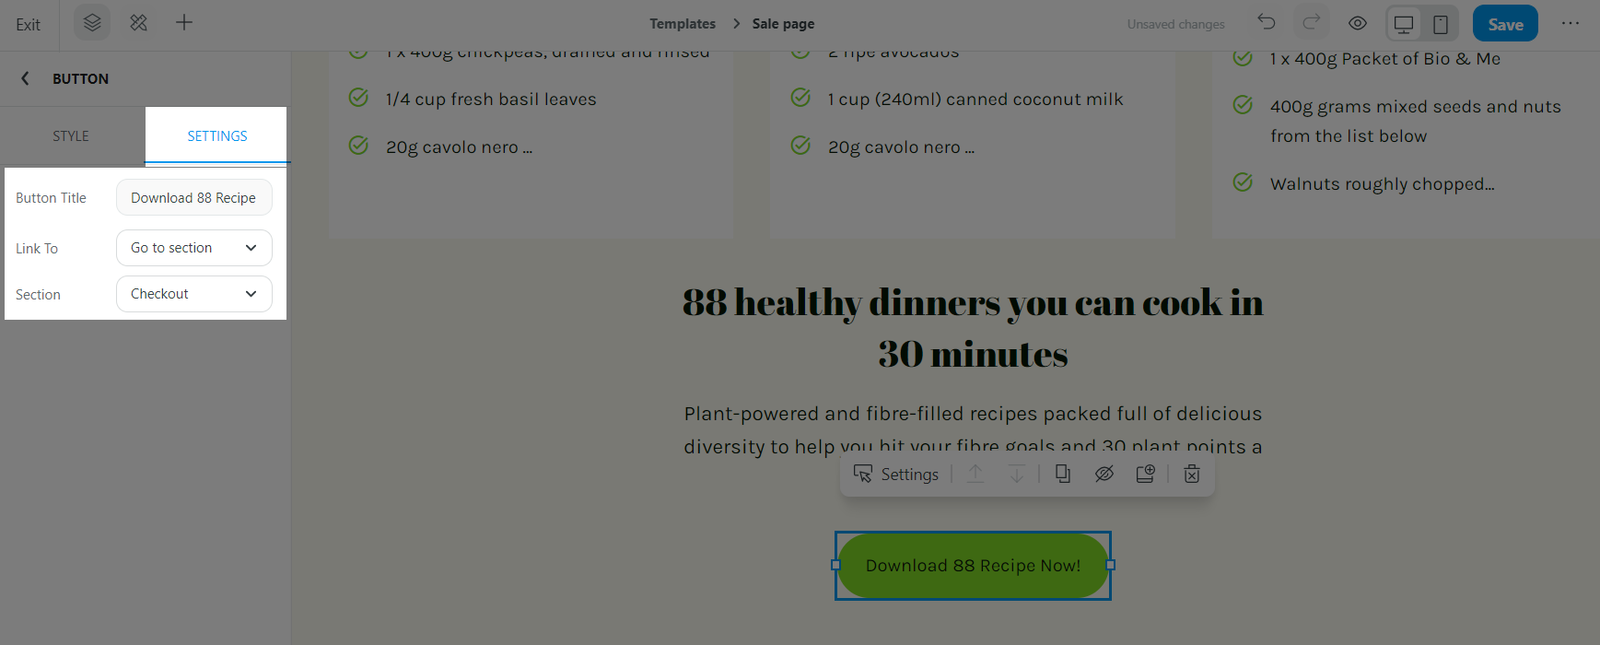
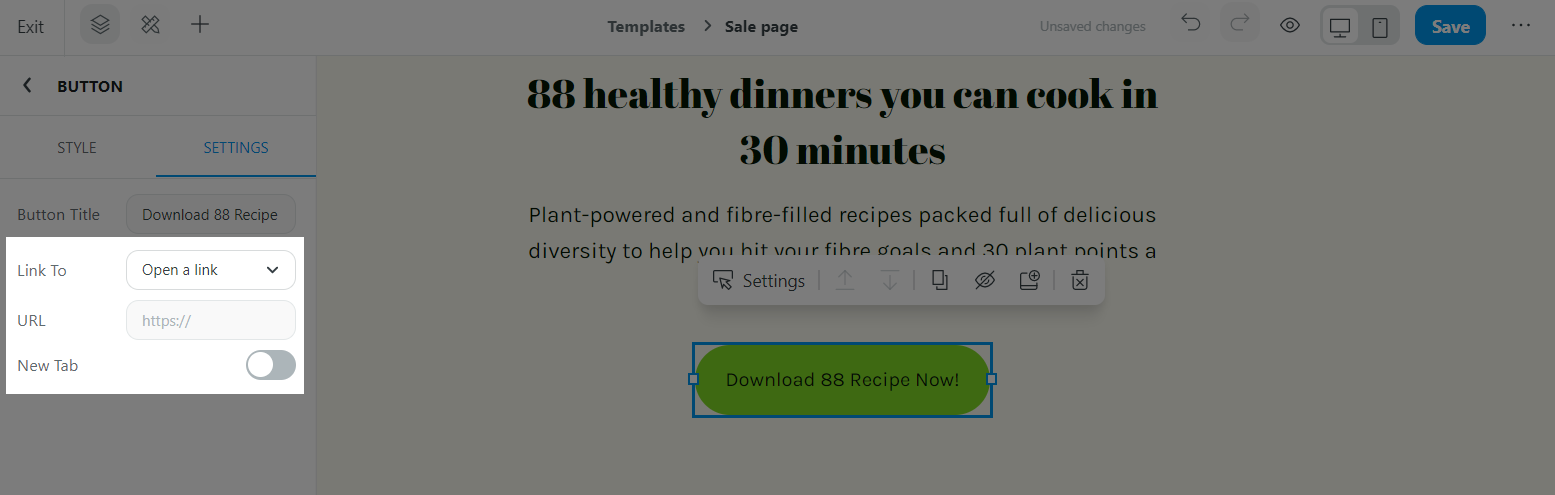
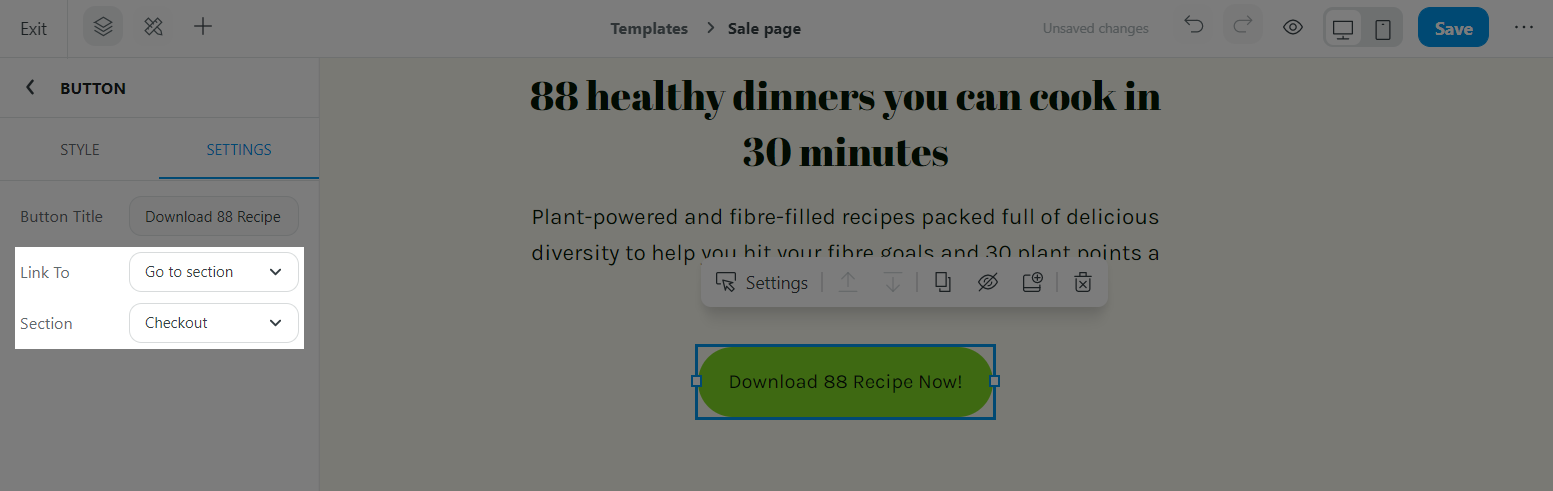
In the Settings tab, you can edit the Button title and set up the Target URL of the button.
Open a link: Select this option if you want to direct the visitor to a specific link. Enter the link in the text box below.
Go to section: Select this option if you want to direct the visitor to a specific section of the web page. When a visitor clicks this button, the web page will automatically scroll to the specified section. This is particularly useful when you want to direct visitors to a checkout form or contact information section.
Once finished, click Save.
Related articles