You can now create text layers with special effects such as stroke and curve directly on the Campaign editor of your stores. These layers will be available for live preview on the store's product page. With this update, you can create more diverse and unique designs for your personalized campaigns, which can help attract more customers and increase store's revenue.
Step by Step Tutorials
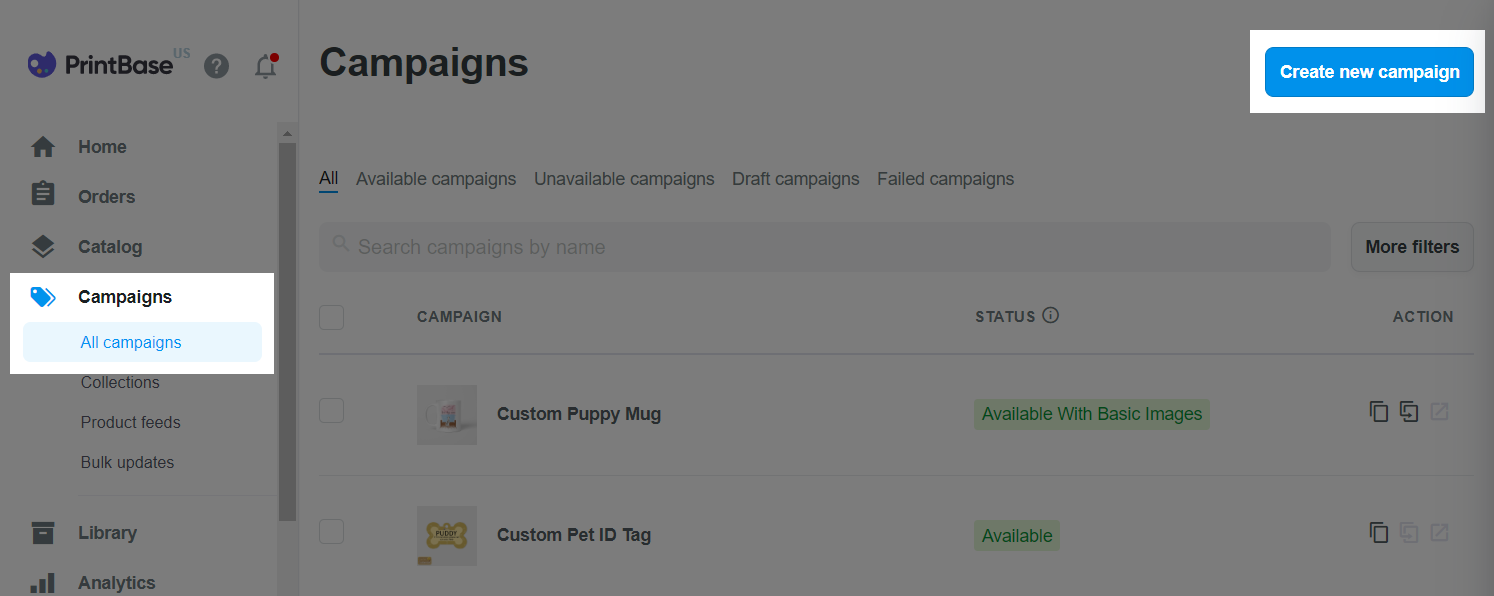
If you are using PrintHub app by ShopBase, go to Apps > PrintHub > All campaigns and click on Create new campaign to start creating your new campaign.

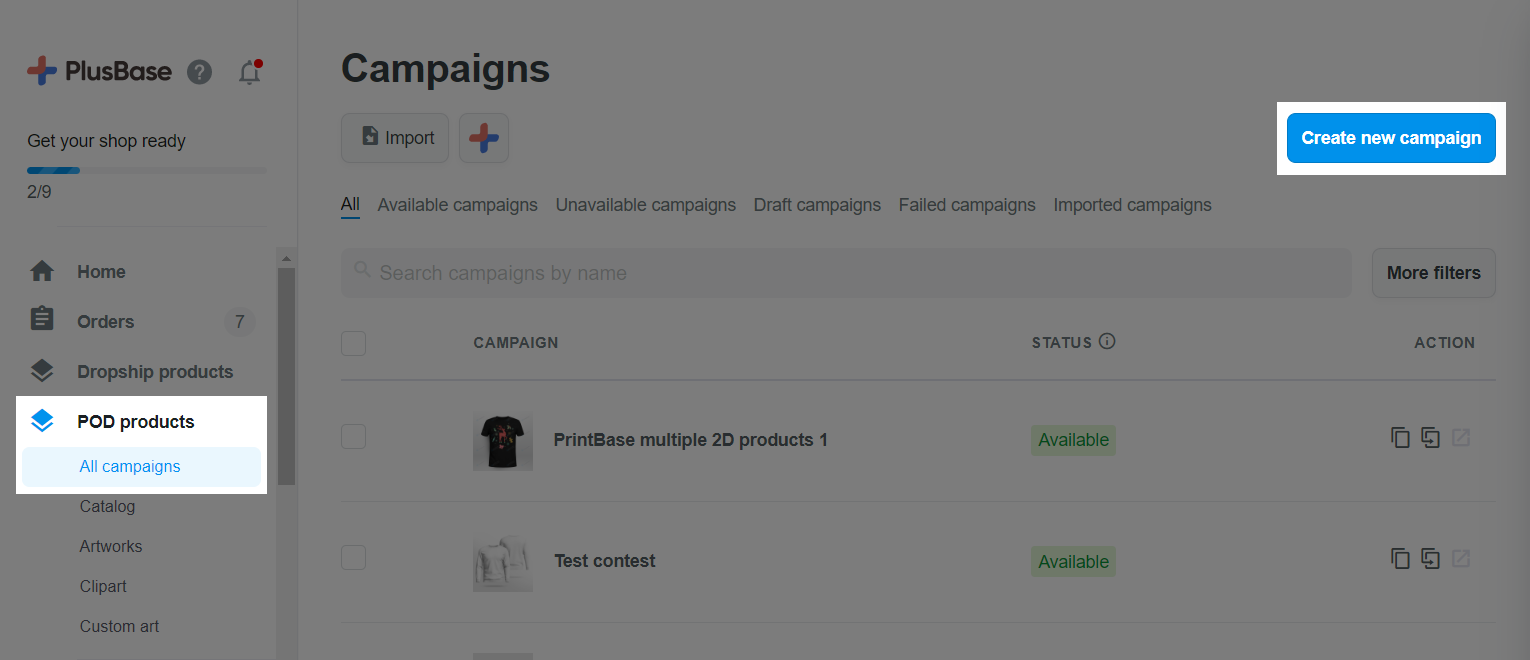
If you are using PlusBase, go to POD products > All campaigns and click on Create new campaign to start creating your new campaign.
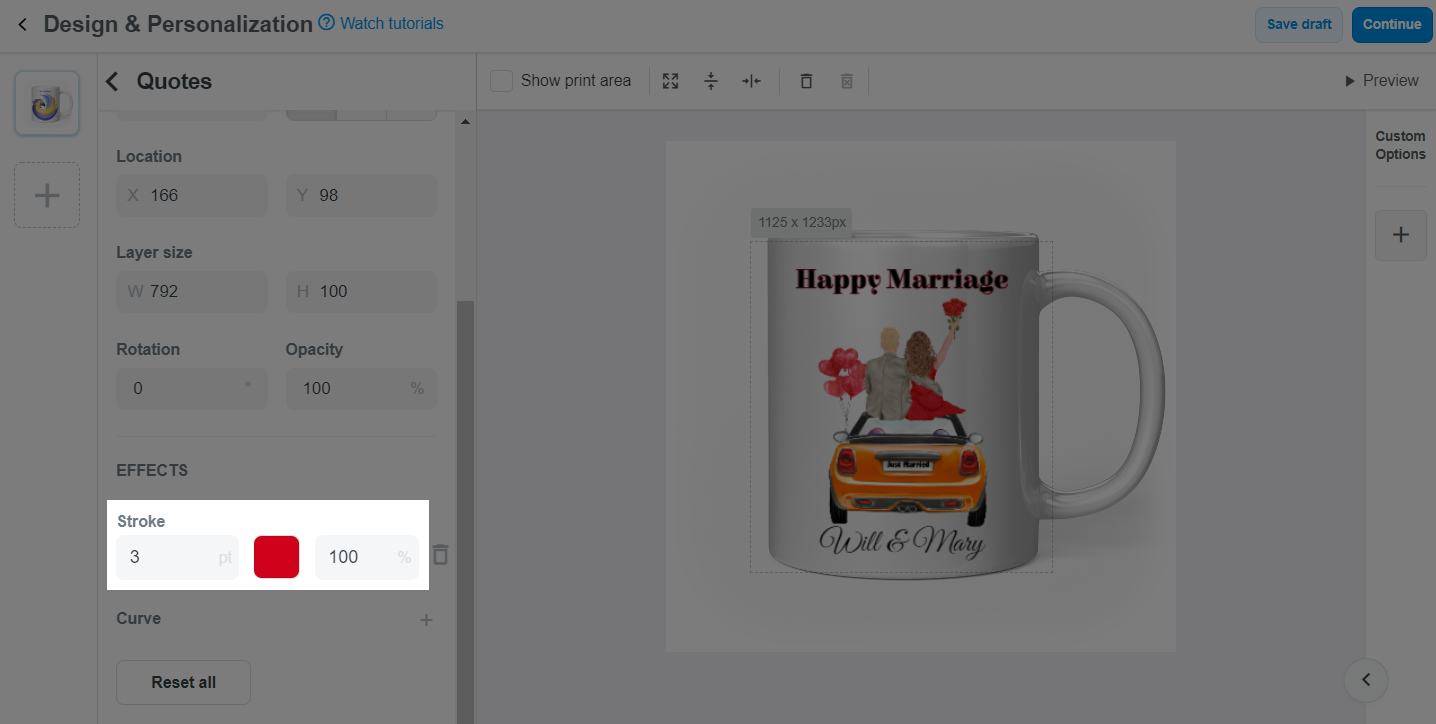
+ button in the Stroke section.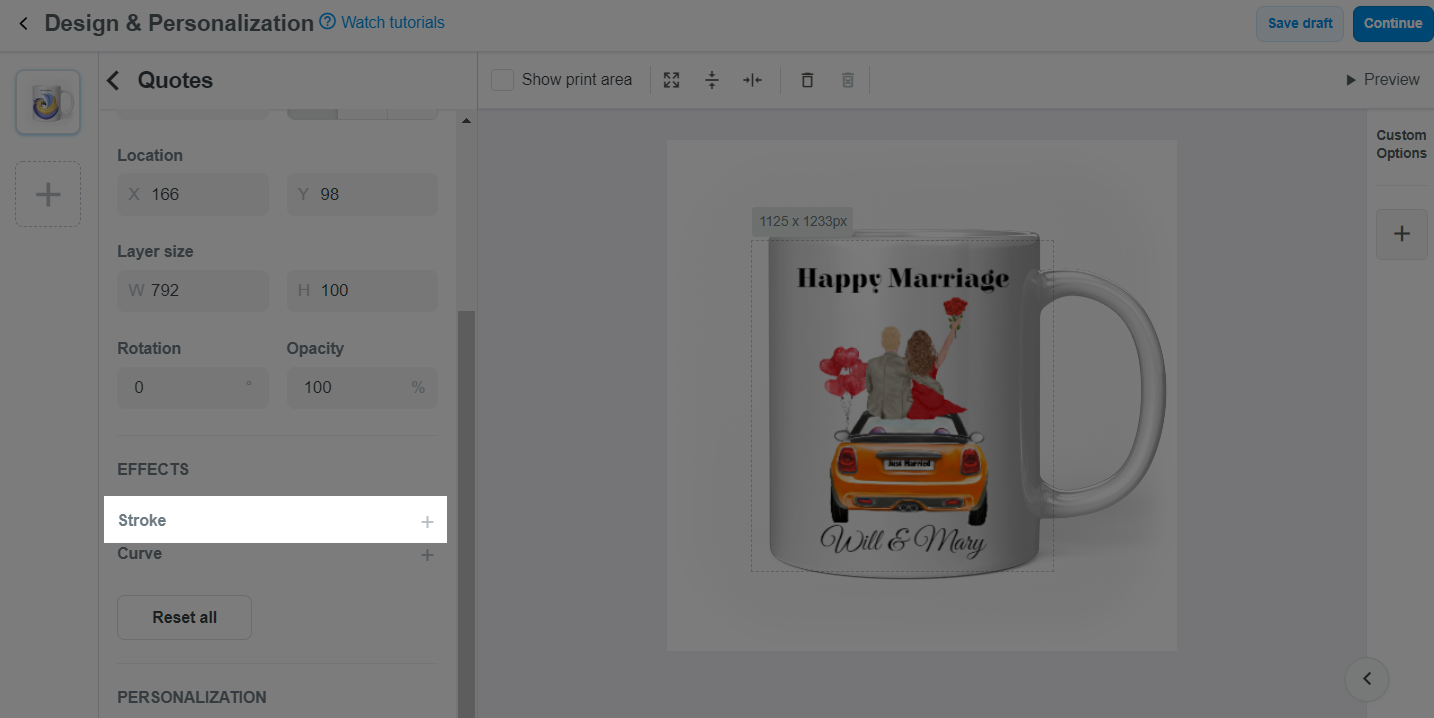
Then, adjust the size, color, and opacity to your preference.
+ button in the Curve section.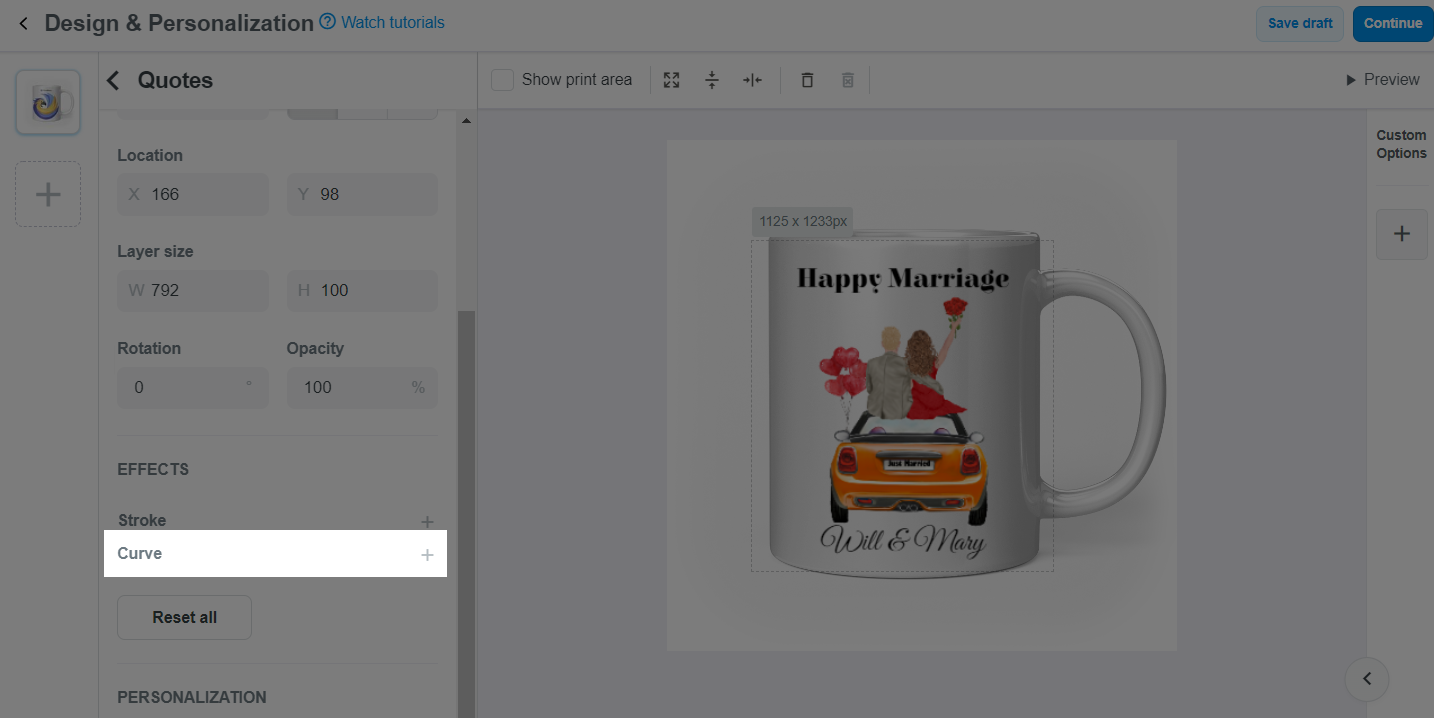
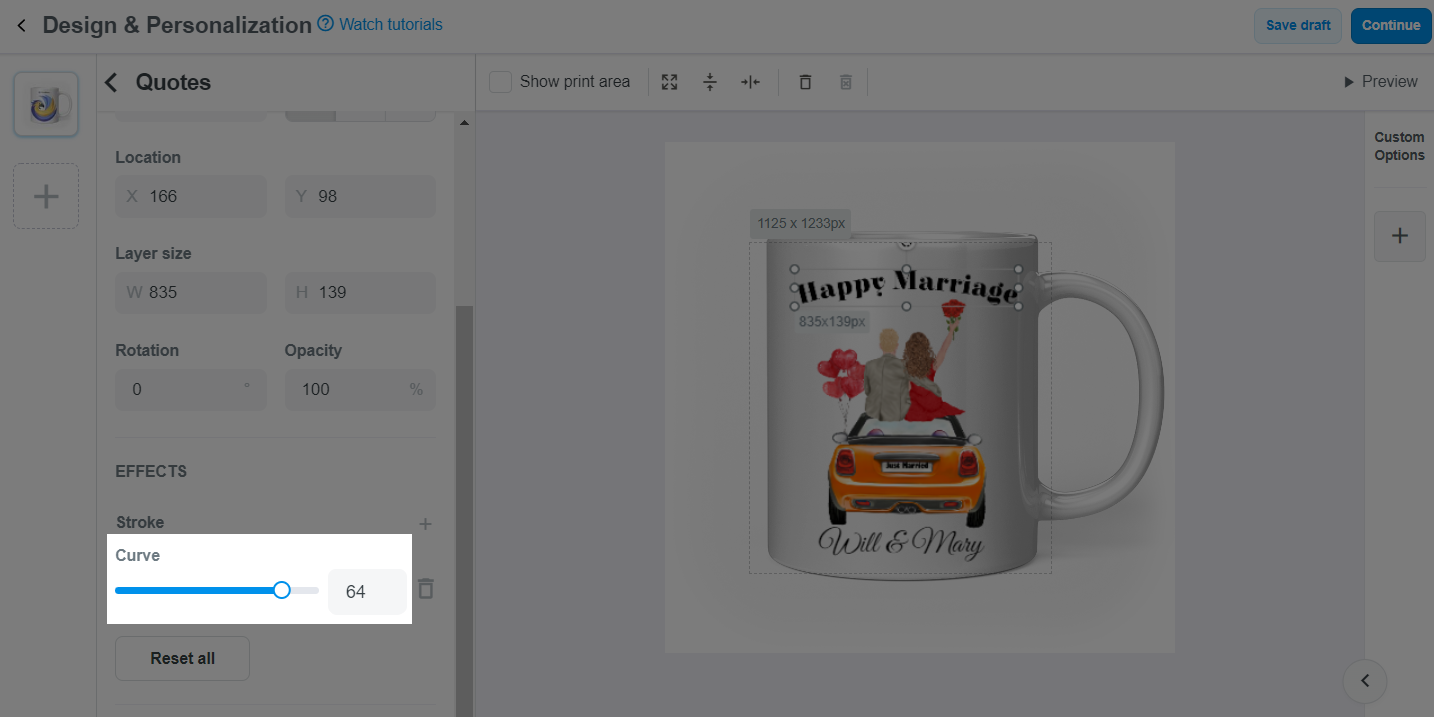
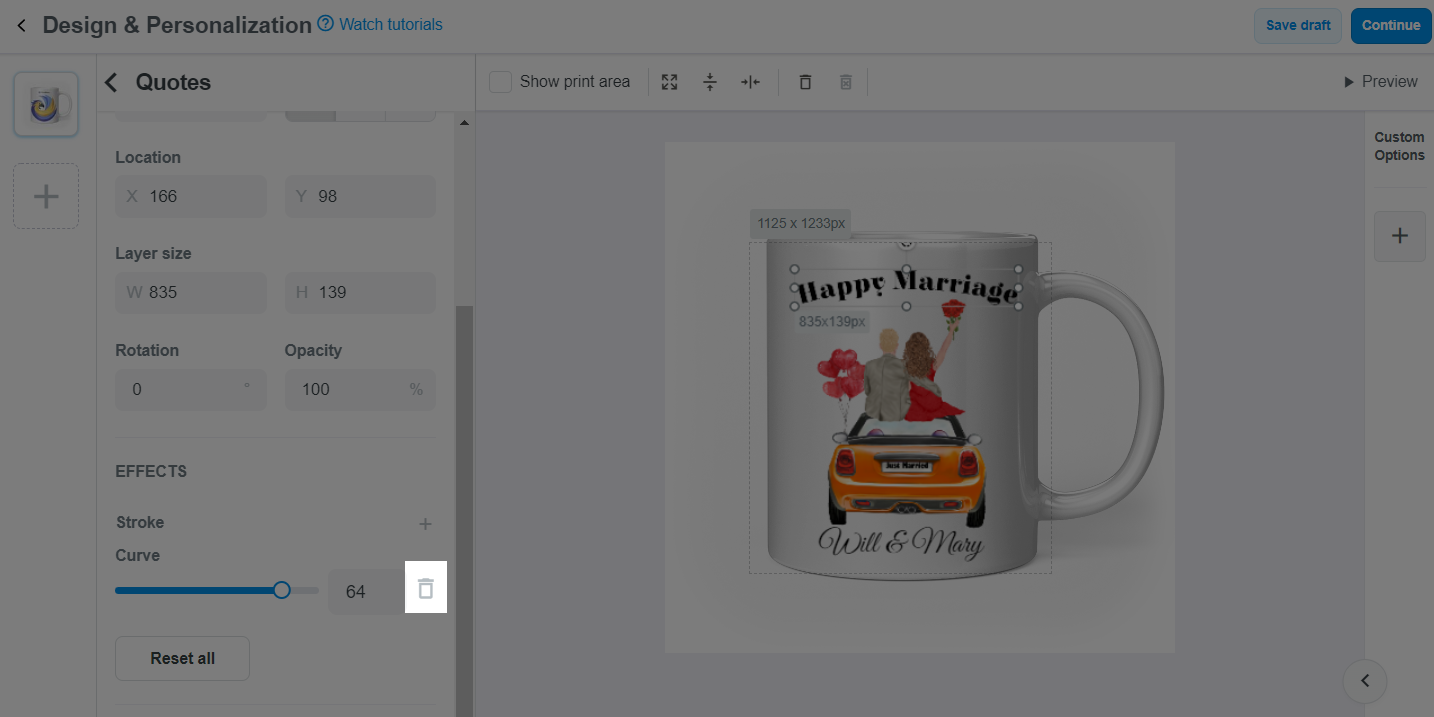
Then, use the slider to adjust the curve of your arc.
When the personalization preview mode is enabled on your store, a customers can preview the product with the added special effects in your design as follows:


At the moment, this feature is not available for text layers that are uploaded from a .PSD file.